Showing posts with label My Sewing Projects. Show all posts

Monday, August 3, 2020

A Birthday Gift

I have a friend who has a birthday in a few days. I wanted to have a gift for her when we have lunch together on Friday so I went looking on Pinterest for some ideas.  I found a picture of these small fabric trays. After deciding what I would make and the fabric I was going to use, I remembered that I had a piece of the Pellon Flex Foam 1 Sided Fusible Stabilizer that I had purchased some time ago.  I had watched some videos on how to use it and thought that this might be a good project to try it on. I had some 10 inch squares that I thought would work well with what I wanted to make. 

 The fabric had been chosen and the Flex Foam fused to the back side of the fabric that I wanted to be the inside lining -- the fabric that could be seen the most. After laying the outside  square on top of the lining piece, I squared up the block and sewed around the whole square leaving an opening so that it could be turned. As I began turning the piece inside out I realized that I had turned the one piece of fabric the wrong way. There was no way I was going to try ripping out the stitching so I just decided that was the way it was going to stay and that it would be mine to keep. I went ahead and finished it. Later I was able to fill it with 2 1/2 inch half square triangles. Four stacks fit perfectly.


So it was then time to make the second one that I would use for the birthday gift. This time I got the fabric turned the correct way.


This afternoon I was able to make a birthday card for Linda. I think that this was the first card that I have made in about a year. 


I pray that all are safe and managing these difficult days well.


Saturday, July 11, 2020

Triangle In A Square

In quilting we have many blocks that use triangles to create design. We have many different triangle rulers -- right triangles, 30 degrees triangles, 60 degrees triangles, etc. One of the triangles that I had not seen used until recently is called the "isosceles" triangle. The base and the height of this triangle are equal. Creative Grids has a ruler called "Tri-Recs Triangle ruler. It is actually made up of two rulers. As I saw quilts made with this triangle, I knew that it was one that I would have to try one way or another. I think one of the things about this square is that it creates movement in the over-all quilt design. My illustration below shows the square, then what a block would like when we take four squares, do a little rotation and sew them together as a four-patch. I love this.

Well, I had to give this block a try. I needed a table topper to go with a wall hanging that I have up in my livingroom made out of  Moda"s grunge fabric. I had been collecting fat quarters of the grunge fabric. Guess I really like it. I got the fabric out and started cutting. The finished table topper measures approximately 27" x 27". This project took me just a few days to make.My biggest challenge was getting the center of the spinner's to match up. It did get easier as I went along.


Tuesday, June 30, 2020

Dachshunds -- Lots and Lots

This is another quilt that I just finished. The fabric with the dachshunds was given to me by a friend some months ago. I was always looking for a pattern for inspiration. One day I found that pattern. I was able to find the perfect border fabric in my stash. And here is the finished quilt. It measures 35" x 45". When I was piecing the top together, I got down to the bottom red strip. Guess what? I had no more red. I had to wait for several weeks before any of the quilt stores opened up.


.
I used a pretty piece of flannel for the backing and did all the quilting myself.

Monday, June 29, 2020

My "Fancy Foxes Quilt"

Sometime ago I saw a picture of  a quilt made with a pattern called "Fancy Foxes". I was hoping to try and make a quilt of my own someday. Well, with all the time we have spent at home these past four months I got my chance.

I needed some little boy quilts and decided that this would be the perfect time to make this pattern. I tried to figure out how to make the block myself. I got pretty close but could not get the lower part of his face to look right. So. I found the pattern was made by Elizabeth Hartman and was available as a PDF download. So as soon as my PayPal payment when through, I was able to download the pattern. Here is a link to the pattern -- Fancy Foxes.


Oh, what fun I had seeing each fox's face completed.

The finished quilt measures 34" x 46". For the background I used Kona medium gray fabric that I had purchased at JoAnn Fabrics. Thankfully I had written the color along one of the selvages because I ran out of the fabric. When I was able to go into the store earlier this month I found that they still had some of the fabric.


For the backing, I had a piece of light gray flannel that was perfect. I pray that some little baby boy will enjoy this quilt.


Tuesday, June 16, 2020

"William"--The Baby Bear Quilt

This quilt, called "William" is a pattern that can be found in the book Fat Quarter Baby Book by It's Sew Emma . The first time I saw a picture of this quilt I fell in love with it. I was looking for  a design for baby boys and this quilt was the perfect answer. The quilt will be donated to one of the charities that our Pieces and Patches Quilt Guild sponsors. It really was a very simple pattern to do. I got a lot of enjoyment out of making the quilt and I hope some little boy will enjoy having it.

I used 2-inch finished squares so this quilt is a little small. The quilt finished to 34" x 38". If you used 2.5-inch finished squares, your quilt would measure 42.5" x 47.5". If you were to use 3-inch finished squares, the quilt would finish to 51" x 57".


Wednesday, May 27, 2020

4-Patch Stacked Posies

A couple of years ago, Mary Lou Hallenbeck was the speaker at the Pieces and Patches Quilt Guild in Jackson, Michigan. She had written a pattern which she called "Four Patch Stacked Posies". I knew that this was something I really wanted to try. Not long after that, I had a chance to visit the East Lansing Country Stitches store. I found this material on sale that I thought would work for this technique.

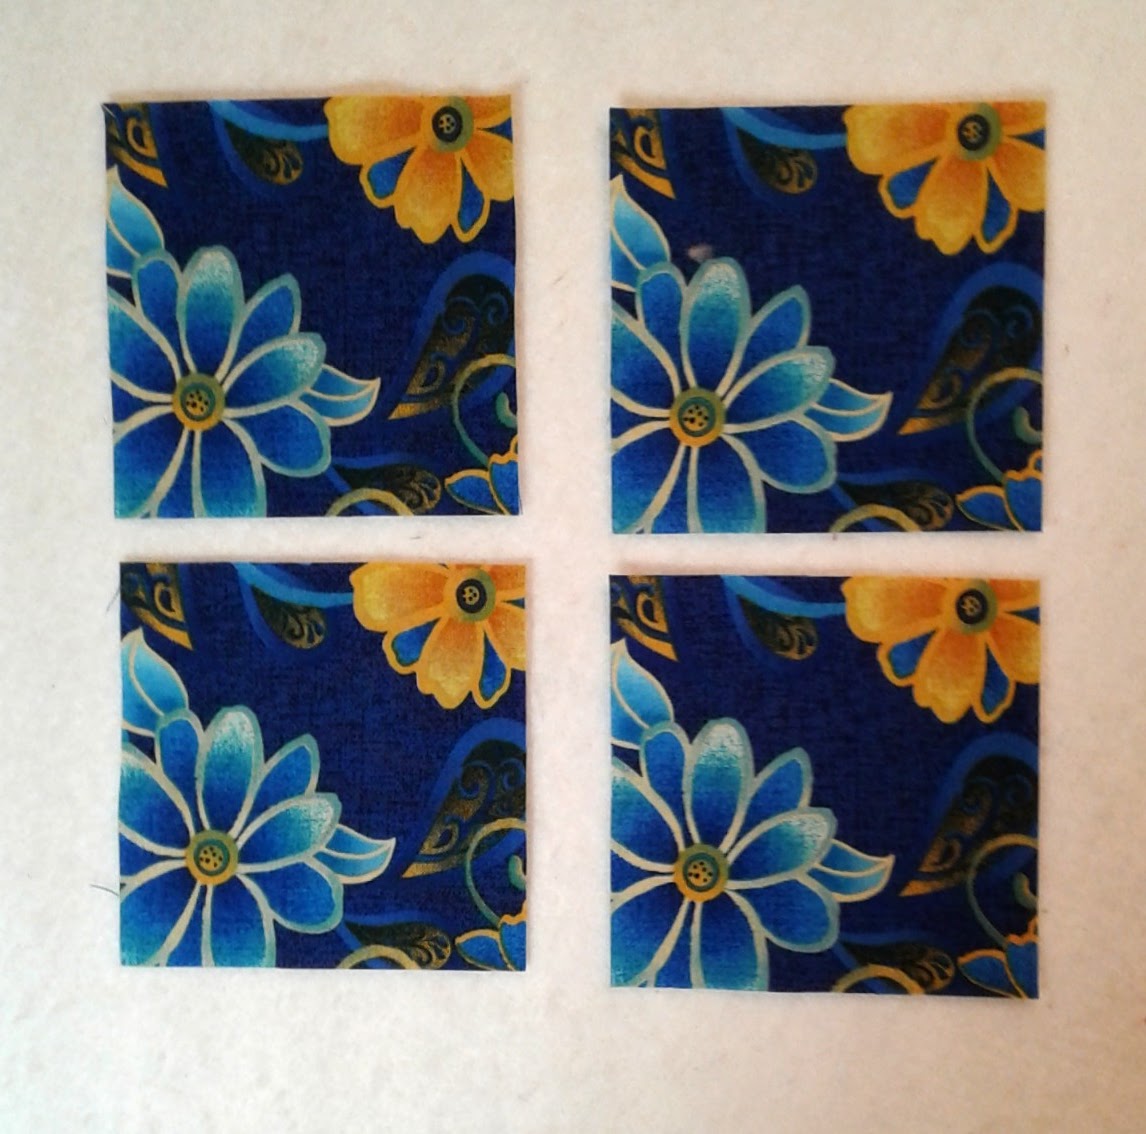
Finally, I had a chance to give it a try last month. The first step is to find the repeat of the print and cut four pieces using that repeat. The challenge comes at trying to get all four pieces lined up, one on top of the other perfectly. Using lots of straight pins and lots of time I came pretty close.

My repeat was about twelve inches. I did not try to cut the strips on the width of the fabric. I cut my strips vertically and then cut  that strip into three 3 1/2-inch squares.


From these squares, I have four squares that are identical. By putting the same point in the middle I get four, very different blocks. The four squares are sewn together as a four patch. Sometimes, it was really hard to decide which way I wanted to sew them together because I liked all my choices with the four squares.


Here are three different designs using these four identical squares. Not sure why I have only three pictures, but my guess is that I didn't like the fourth choice.

First choice

Second choice

Third choice
I have all my squares sewn together in blocks. When I am able to get to a quilt shop, I will get some coordinating fabric to finish the quilt. It will be nice size lap quilt or wall hanging.


Wednesday, May 20, 2020

Continuing To Learn

Every once in a while, I sit down at the sewing machine and practice "Free Motion Quilting". It looks so easy when watching a video. BUT IT IS NOT EASY. The teachers say "practice, practice, practice".  Boy, is that a true statement.

These placemats were done the last of February and the very first part of March. The quilting does not show up in the picture very well. On the middle red, I used loops and meandering. On the outside sections, I did straight line quilting.


On the following placemat, I tried pencil quilting. I love the effect, but I was surprised at how much the fabric migrated during the quilting process, even though I thought that I had pinned the quilt sandwich together well. I think I was able to salvage the placemat, but I see the distortion every time I look at the picture.


I am enjoying the sunshine this afternoon here in Jackson, Michigan. Praying that everyone who sees this post is well and enjoying your day.


Tuesday, May 12, 2020

It Is Finished!!!

Getting a project finished is a great feeling. We began a sew-along at our Pieces and Patches Quilt Guild in August of 2018. We were doing one square a week using Lori Holt's Farm Girl Vintage book. During the winter as I had time I would work on my blocks. I finished my blocks in mid July, 2019. During next few weeks, I got all the blocks sewn together. The only thing left was to add the border, have it quilted and put the binding on.

During the summer I bought fabric for the border, back and binding. In February 2020, I began thinking about getting it finished. The guild quilt show was coming up in May, and it would be fun to show it there. After putting the first piece of border on, I knew immediately that it was not not the right fabric. I found a piece of fabric from my "stash" and decided to use it. It worked beautifully. Got the borders sewn on, took it to Jeanne to be quilted and put the border on a few days after I got it home.

I love my quilt. I made all 6-inch squares. I learned so much.
I got it finished!


Monday, May 4, 2020

The Red, White and Blue "Sawtooth" Star


A few days ago I saw a picture of this quilt block on Pinterest and immediately knew that I wanted to make something using it. I figured that if I made four squares, that would be enough for a table topper for Memorial Day or the Fourth of July. By using 2 1/2"strips and 2 1/2" blocks, the overall block would measure 16 inches, making the table topper finish at 32" x 32". Once I found my red, white and blue fabrics, I was all set to give it a try.


star stripes quilt


Love the result. Simple but very patriotic. 


Sunday, February 16, 2020

First for 2020

This is the first charity quilt for 2020 that is actually finished. I took 5" squares, cut them in half (5" x 2 1/2") and added a 2 1/2" square on one end. These pieces were sown into rows with the rows then being sewn together. The finished size is 40" x 48". I found a piece on fabric in the closet that worked for the backing.


To finish off the quilt, I used the "magic binding". The blue strip measured 1 1/4" and the red strip measured 1 1/2". When those two strips are sewn together and pressed, the 1/4" flange is created. The binding is sewn to the back side of the quilt, turned to the front and stitched where the two pieces come together. Using a matching thread makes the stitching almost invisible.


Tuesday, February 4, 2020

Third In The Set

Today  I am posting the third placemat that I just finished. Again I went to my scrap basket, sewed several strips together and made this placemat. I quilted it much like the other two.


Here is a picture of the quilting. All was done using the IDT on my Pfaff sewing machine. I used a decorative stitch that I have seen called "the wiggly stitch".  I reduced the width of the stitch from 9mm down to 6.5mm and increased the length from 3.2mm to 3.6mm. Then I just follow the seam lines. This stitch is very forgiving. If I happen to get off a little, it doesn't show.

For the borders, the machine was set for a regular straight stitch. As I sewed across the border I moved the fabric from side to side to create the waves. No lines to follow and I can make it as wavy as I want. This is an easy way to add the quilting to your work.


Sunday, February 2, 2020

A New Year -- 2020

I can hardly believe that the first month of 2020 is gone. Here in Michigan we have had some really warm days and a few really cold days. We have also had a couple of large snow storms.

Parkinson's Disease continues to be a controlling factor in my days. My husband has some really good days and then there are days that are difficult. We try to take each day as a gift. Over the past few months I seem to be doing more and more quilting and less of the card making. I am trying to use fabric that I have on hand and I am also trying to become better at free motion quilting.

I took strips from my scarp basket and sewed them together to make some placemats. I then tried different ways of quilting them. It has been good to try something new. These placemats will be donated to "Meals On Wheels" in a few weeks.


Each mat measures approximately 12 x 16-inches. The pictures are not the greatest but the quilting shows up well.


Thursday, September 5, 2019

Circle of Friendship

I love the "Friendship Star" quilt block. One day as I was looking at different quilt blocks, I came across a picture of the friendship star blocks. The unique pattern placed the stars in a circle. I immediately fell in love with the pattern. As I looked further, I came across a picture of a graph for the pattern. I decided what size I wanted each square to be and then I got out my own graph paper. I had collected a number of fat quarters that featured the same design -- just different colors. So that was what I decided to use. The background fabric was a charcoal black Kona fabric. I had always wanted to make somethings with a black background. So I set to work.

The results----


Each of  the individual finished squares measures 3-inches. The quilt finished to a 31-inch square. I did the quilting on my Pfaff  Quilt Expression 4.2. I have had my machine since the first of May. Love it's features. I did my quilting by stitching down each seam using one of my decorative stitches. When I finished, it looked like the quilting was too far apart so I stitched in the middle of each row.

Finished!

Wednesday, August 28, 2019

Quilts for "Together We Can Make A Difference"

I want to get organized. I look at the fabric I have. I start to go through it and in the end I cannot bring myself to put any of it in the waste basket. What am I to do?

A few weeks ago the Lord laid it on my heart to use some of the fabric to make baby quilts for one of the charities that the Pieces and Patches Quilt Guild is sponsoring this year. I have been a member of the guild since August, 2016. The organization is "Together We Can Make A Difference". This is an organization whose purpose is to touch and help people of Jackson, Michigan. Here is a link to their web site "Together We Can Make A Difference".

Each of these finished squares measure 10" x 10". The quilt measured 38" x 38". For the back I used a piece of blue flannel and I quilted it on my own sewing machine.


For the second quilt I used 5" squares of the pink and yellow to make the 4 1/2" half square triangles. I then cut the "bear" squares to 4 1/2". The quilt was assembled using the Jacob's Ladder pattern. The finished quilt measured 36" x 44". I used a piece of flannel that turned out to be perfect for this quilt.


I love this blue fabric with the little teddy bears. I had trouble deciding what to put with it. Finally, I decided to use yellow for the little 4-patches. This quilt measured about 37" by 37". The piece of flannel that I had was big enough for this quilt and the first one.


When I finished these quilts I had completely used only one piece of fabric--the bear fabric used in the second quilt. Back to the design board.