Showing posts with label Card Sets. Show all posts

Friday, November 3, 2017

Two New Sets

Our Parkinson's Support Group Christmas auction is coming  up in a couple of weeks. I am making some sets of greeting cards to put in the auction. I think that these are the last two one sheet wonder sets that I will be making. They are all from the same pad of designer paper. (The other set of cards was posted on October 25.) I will put six cards in each box -- two cards from each set.


A card is a hug with a fold in the middle.
Send someone a hug today.


Wednesday, October 25, 2017

Creating A Gift Set

 Between taking my husband to doctor's appointments and finishing up a couple of table runners for our Parkinson's Support Group Christmas auction, I was able to get back to my card making for part of today. I have been working on some projects for an upcoming class this weekend. We will be focusing on making a set of cards with a matching box that could be used as a gift. I don't have the box finished because I want to do that in the class.

I used the "One Sheet Wonder" sketch that I used back in September. This is such a neat way to make coordinating cards.

I used one sheet of  6" x 6" designer paper from the "Pretty Petals" paper pad. The card bases were Mint Macron, Old Olive and Calypso Coral. Black became the accent color for all the cards, and Very Vanilla was the neutral card stock. The three sentiments were from the Stampin' Up set "Simply Sketched".

If you have trouble using your beautiful designer paper, this is a great way to create a beautiful set of cards.


A card is a hug with a fold in the middle.
Send someone a hug today.


Tuesday, May 30, 2017

Finished Centerpiece

Just wanted to share the finished center piece I made for the Mother/Daughter Tea I attended at my church just before Mother's Day. I had posted the table mat and the candle holder earlier. To finish off the centerpiece, I added a box of greeting cards. The center piece was to show something about our selves and the things we enjoy doing.


A close-up of the box.

A little closer look at the flowers on top.

These are the cards inside the box--


Rich Razzleberry was the accent color on each card. Used different stamp sets and different embossing folders but the same circle die on each card. Thanks for letting me share this project with you.


Sunday, March 19, 2017

Creating My Own Unique Designer Paper

I wanted to try creating a sheet of my own designer paper using inks and stamps from my craft room. I thought that the result was fairly good. Some of you create such lovely papers. I started out by sponging different colored distress inks onto plain, white card stock.Took out a few stamp sets and started stamping, covering the entire sheet. I thought I did a pretty good job on that part. Of course the paper shows my favorite colors and images.


I got two cards made using the paper. I hope to get some more made with what I have left someday.


Saturday, March 18, 2017

Going Back to "One Sheet Wonder"

I was going to try the "one sheet wonder" pattern that I have using a different designer paper. I cut my 6" x 6" piece. Looked at the pattern, made a cut, looked again at the pattern -- it was all wrong. Now what? Well, I will just use these pieces and see what I can make. After playing with different solid colored card stocks and different layouts, I made three cards (instead of four).


Here are the cards all together.


Now, individually. 
.


When I saw this paper by Graphic 45, I fell in love with it. Loved the small design, the strips on the back side, the colors and the flowers. I took the pieces that I had cut incorrectly and made three cards that I was very happy with. I used different stamp sets, a number of different dies and different color card stock. They are not what I started out to make, but that is OK. I love the finished cards.

There was one little piece left, so I used it on the inside of the middle card. So often I forget about doing anything to the inside when I am working on a card, but I always love the finished look when I do. Even just a little piece of the designer paper gives that completed look.


Friday, February 17, 2017

Beautiful Paper

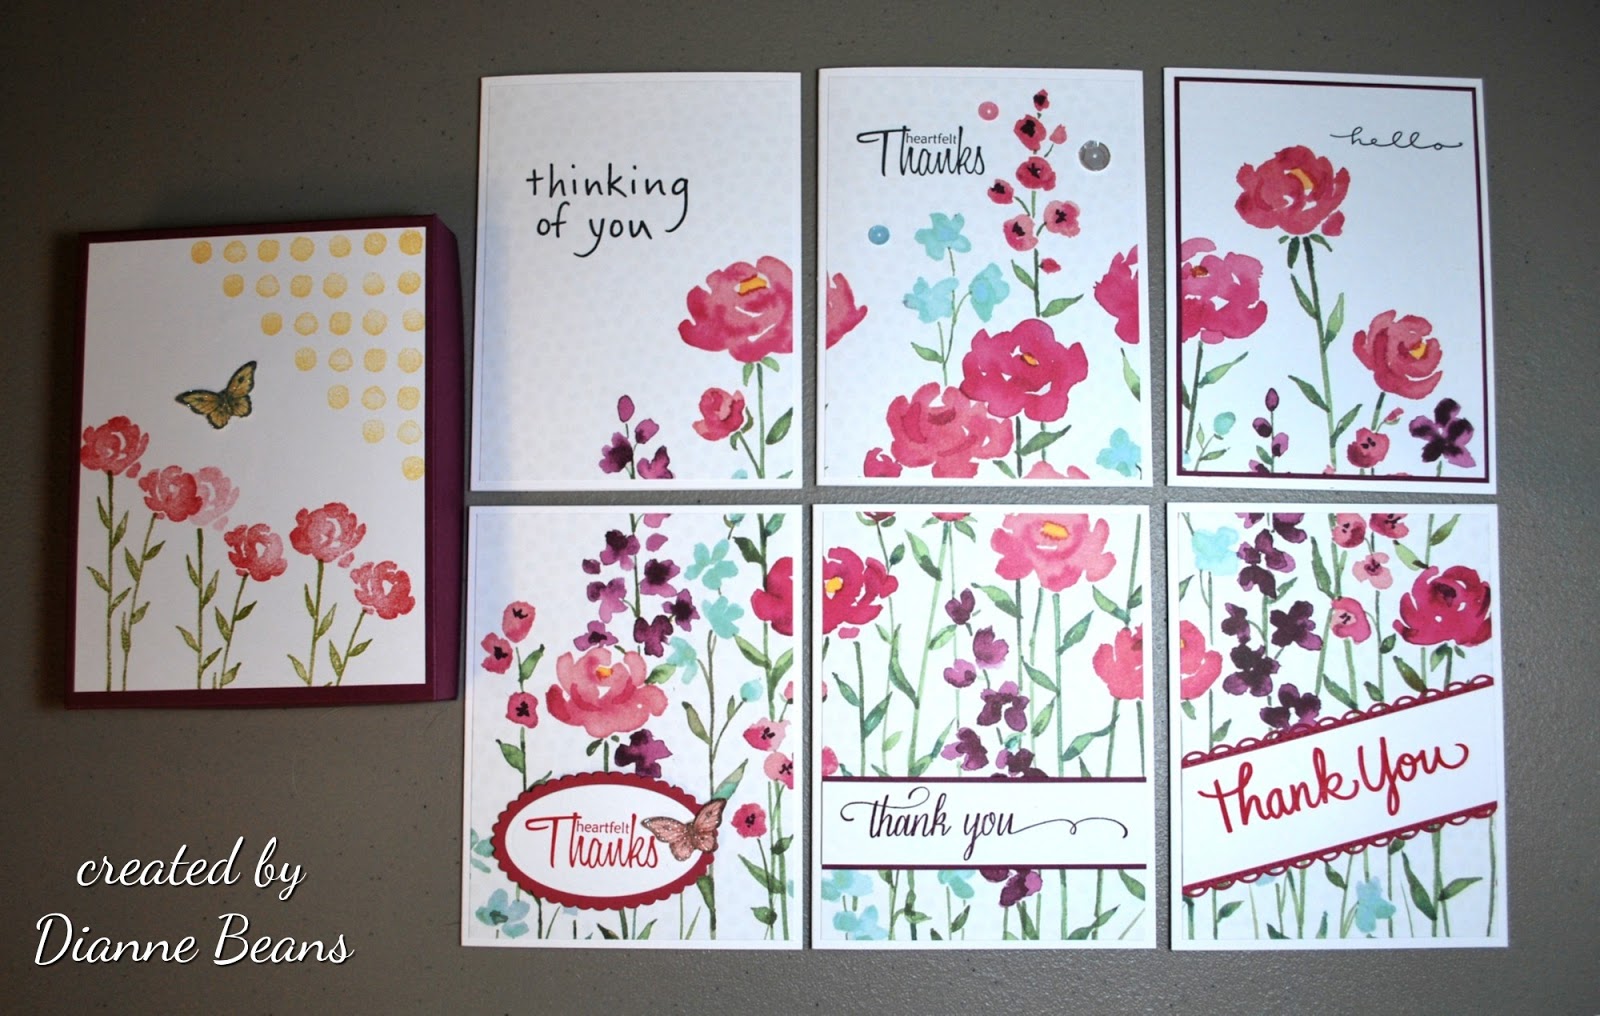
Just came across some pictures of a "thank you" card set I made about a year ago as a gift for a friend who was having surgery.I had this beautiful sheet of designer paper and I saw a card set made with the paper on Pinterest. It was the inspiration I needed to cut up that sheet of paper and make a set of six cards.


Saturday, February 4, 2017

Two Cards -- The Same But Different

This card is from yesterday's post where I had made a set of cards using a "one sheet wonder" sketch pattern. I needed a card for a friend who fell earlier this week and broke her foot. So-- I decided to make a card following the same design as the first card using the same paper and similar color palate.


This is the new card I made. I hope that you can see the similarities and the differences. By using the same paper and choosing different sides, you create two unique cards.This sentiment if from Our Daily Bread Designs Mini Tags 3 set.


Here is the two cards together. Makes me wonder how many different looks could be achieved with this sketch and these papers. Should I try?


Friday, February 3, 2017

Second Card Set

I enjoyed making the first set of cards using the One Sheet Wonder patterns so much that I decided to try another set with some beautiful paper I purchased at my local scrapbooking store, Altered Art Addicts in Spring Arbor, Michigan. The piece was by Graphic 45 called "Pretty Primrose" from the Secret Garden Collection. The minute I saw the paper, I knew that I had to have at least one sheet. I am beginning to think that I need to go back and purchase a few more. Here are the cards--

The Complete Set


For this card and the next one, I used SU Cajun Craze card stock for the base. I also used SU So Saffron in the layers. The sentiment is from a long time retired Stampin' Up set called "Lots of Thoughts". The flower came from the Stampin' Up set called "Fabulous Florets". It was stamped on white card stock using Memento Rhubarb Stalk ink. I used the Memento ink because I knew that I wanted to add some additional color and highlights using my copic markers. I think that this flower was meant to go with this paper.


For this second card I used the "Friend" stamp  from SU's set "Awesomely Artictic". Using my Misti, I stamped it in three colors -- So Saffron, Cajun Craze and Old Olive.


The last two card are made using SU's So Saffron card stock for the base. Most of the layers are SU Cajun Craze. The elements on the card above were added directly to the card base. The sentiment is from the SU's set "Whimsical Words".


Some time last year, I began to be aware of how many stamp sets I had that I had never used or used very little. I decided that it was time to slow down on the purchases and start using what I had. It has been fun to see how much I really love lots of the retired stamp sets. I guess that doesn't help the stamp companies but it has made me more aware of what I have and what works for me. That doesn't mean that I have not purchased anything new; it just means that the things I do purchase tend to be ones that I really, really like.

Have a great day stamping.


Wednesday, February 1, 2017

One Sheet Wonder Technique

I have looked at different pictures of cards that were made using only one sheet of designer paper. Some instructions call for a 12 x 12--inch sheet of paper. Some call for a 8 x 8--inch square of paper, some 8 1/2 x 11--inch piece. I chose to make four cards using a 6 x 6--inch piece of designer paper.

I chose to use a sheet from the Stampin' Up's "Love Blossoms" designer series paper stack. The card bases and mats were made using SU Early Espresso card stock. I also used a couple of small pieces of SU Crumb Cake card stock for a second layer on the first two cards.

From Pinterest, I found the cutting guide and sketches on the following blog -- Crafts By Happy Stamper. I also found the sketches on this address -- Poetic Artistry. I believe that this last one may be one of the original posts. The date was September 5, 2008.


Here is a picture of each card.


The sentiment for this card is from Our Daily Bread Designs. It is stamped in Memento's Rich Cocoa ink.


This sentiment is a stamp from Stampin' Up's set called "Awesomely Artistic". I used my Misti to get the words in perfect alignment. "Friend" is stamped in three colors--SU Blushing Bride, Rose Red and Memento Rich Cocoa.


This "Thinking of You" sentiment is from SU's Sassy Salutations" stamped with Rose Red ink.


Thursday, December 4, 2014

Two Little Boxes

Two little boxes filled with 3 x 3 cards for Christmas. December 4 is our stamp club's Christmas party and we are each to bring a box of tiny cards to exchange. In the process I ended up making two boxes. I am looking forward to seeing everyone's creations. The first one was for a friend who left for Florida last week. The second box is the one I am taking to the party.

 
These are the cards that fill the box.


Sunday, September 7, 2014

Cards This Past Week

Today I want to share cards that I have made the last week or so. When I stopped and looked at this card, I realized that I used "five" stamp sets on these two cards -- Kinda Eclectic, Gorgeous Grunge, You're Lovely, Papillon Potpourri, and Express Yourself. All these stamp sets are from Stampin' Up. With all these stamps, I only used two ink colors -- SU Crushed Curry and Memento's Rich Cocoa and two colors of card stock -- SU Crushed Curry and Recollection's brown.


Two week's ago the CAS challenge was "coloring". I made a card that I really loved. That one card led to a whole set. Then to finish the set I made a box for them and decorated it with a similar focal image.


And here is the box that I made to hold all of the cards.


Friday, March 7, 2014

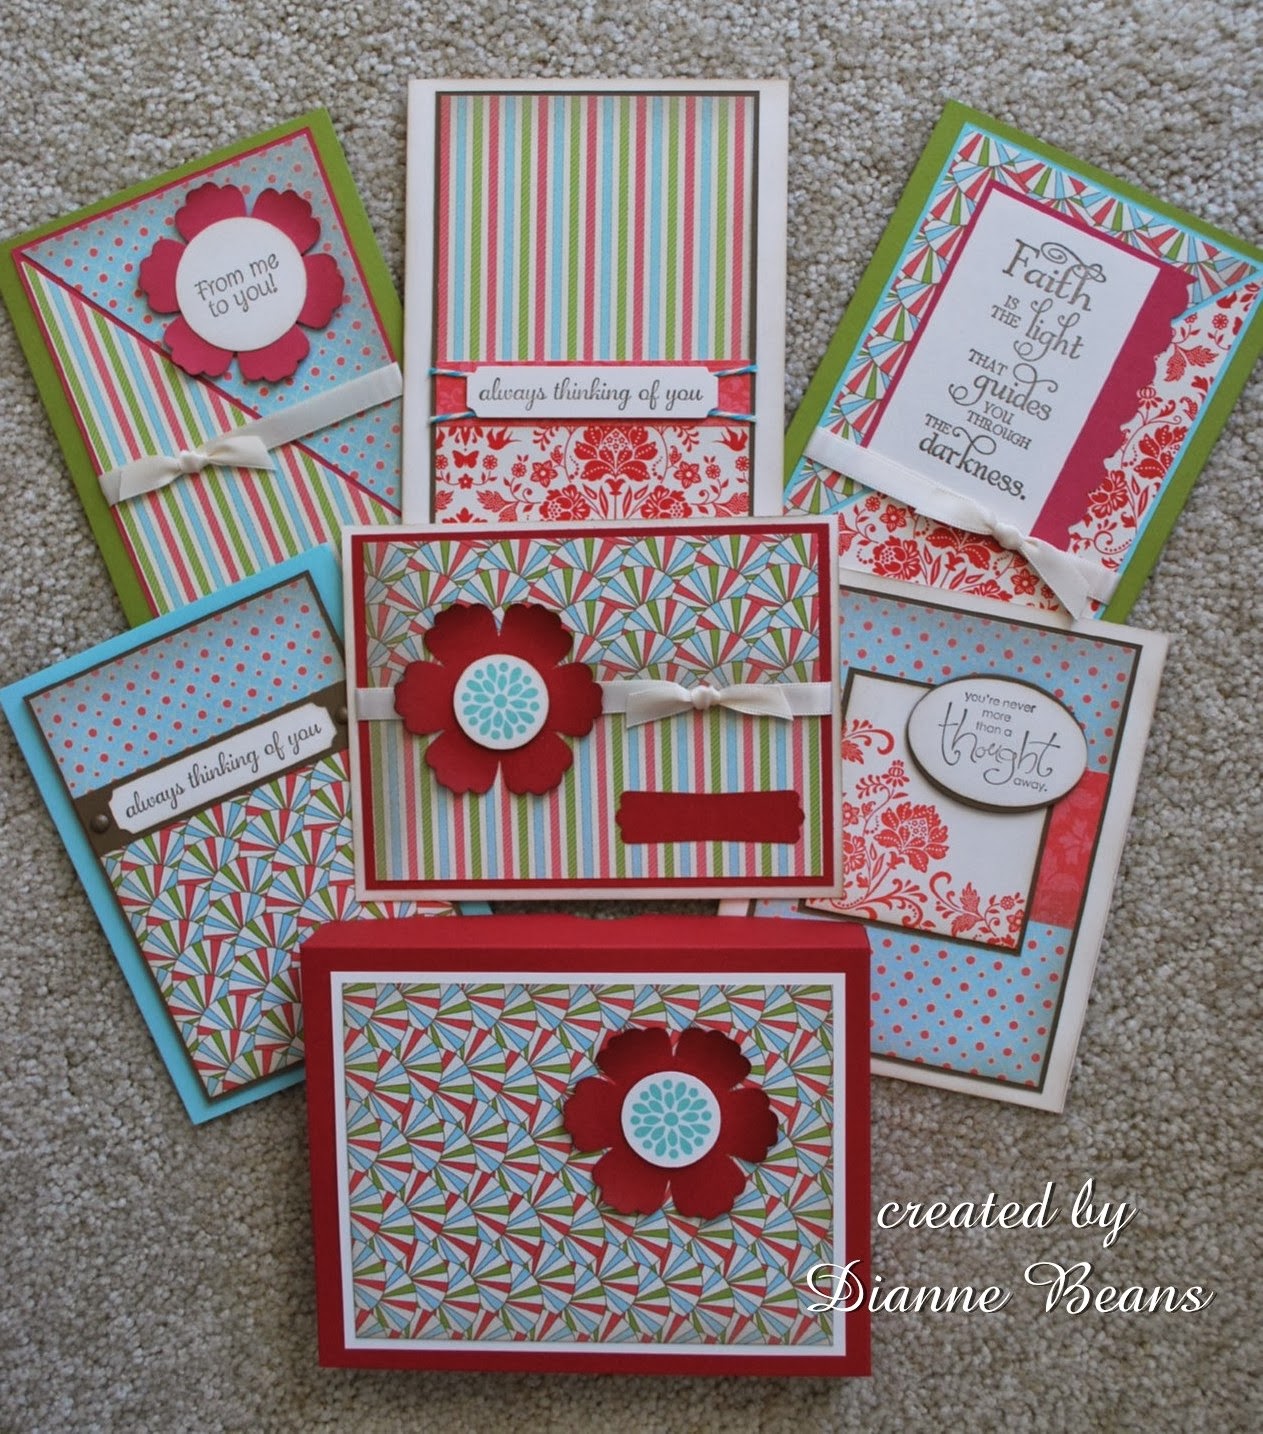
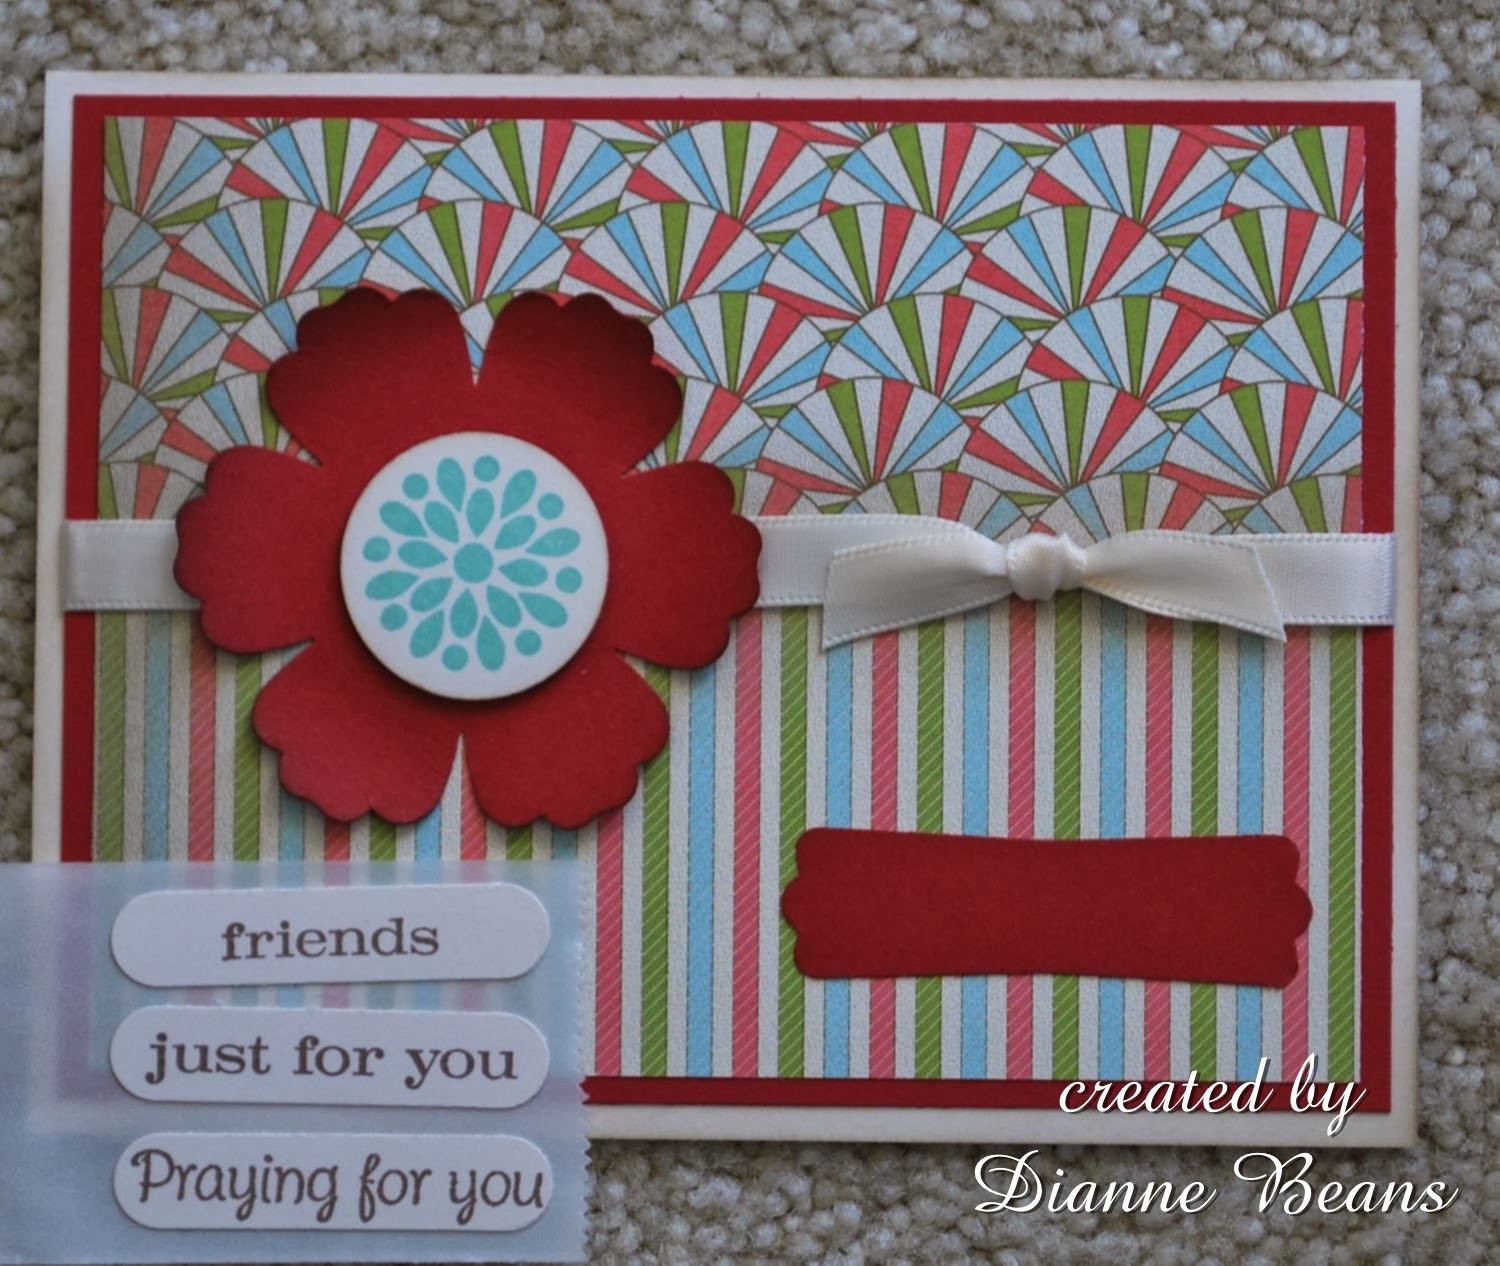
A Pretty Box with Matching Cards

On Sunday, March 2, I went down to my craft room and began on a project that I had been thinking about for some time. I took two sheets of designer paper from the SU Everyday Enchantment collection. I had found a pattern on line for cutting the designer paper and I used that as a guide. So far, I have a box with six matching cards plus two others that I worked on later.