Showing posts with label Boxes. Show all posts

Wednesday, December 12, 2018

Christmas Joy

Another Christmas card. I used the Stampin' Up set called "Painted Harvest". I love how many ways you can use this stamp set. I found the stripped paper in my stash. It worked perfectly with Stampin' Up's real red card stock. I cut the letters twice -- once in real red and the second time in black. The black card stock really made this card.


December 1 was the last card class I will have this year. For our Christmas celebration , we exchanged "Christmas Gift Tags". The is the tag I made. Very simple.


I was also working on this little milk carton. We didn't have time to make it. I love doing little projects like this. We will make it in class on of these days. You can find instructions HERE.


Monday, May 7, 2018

One Year Anniversay

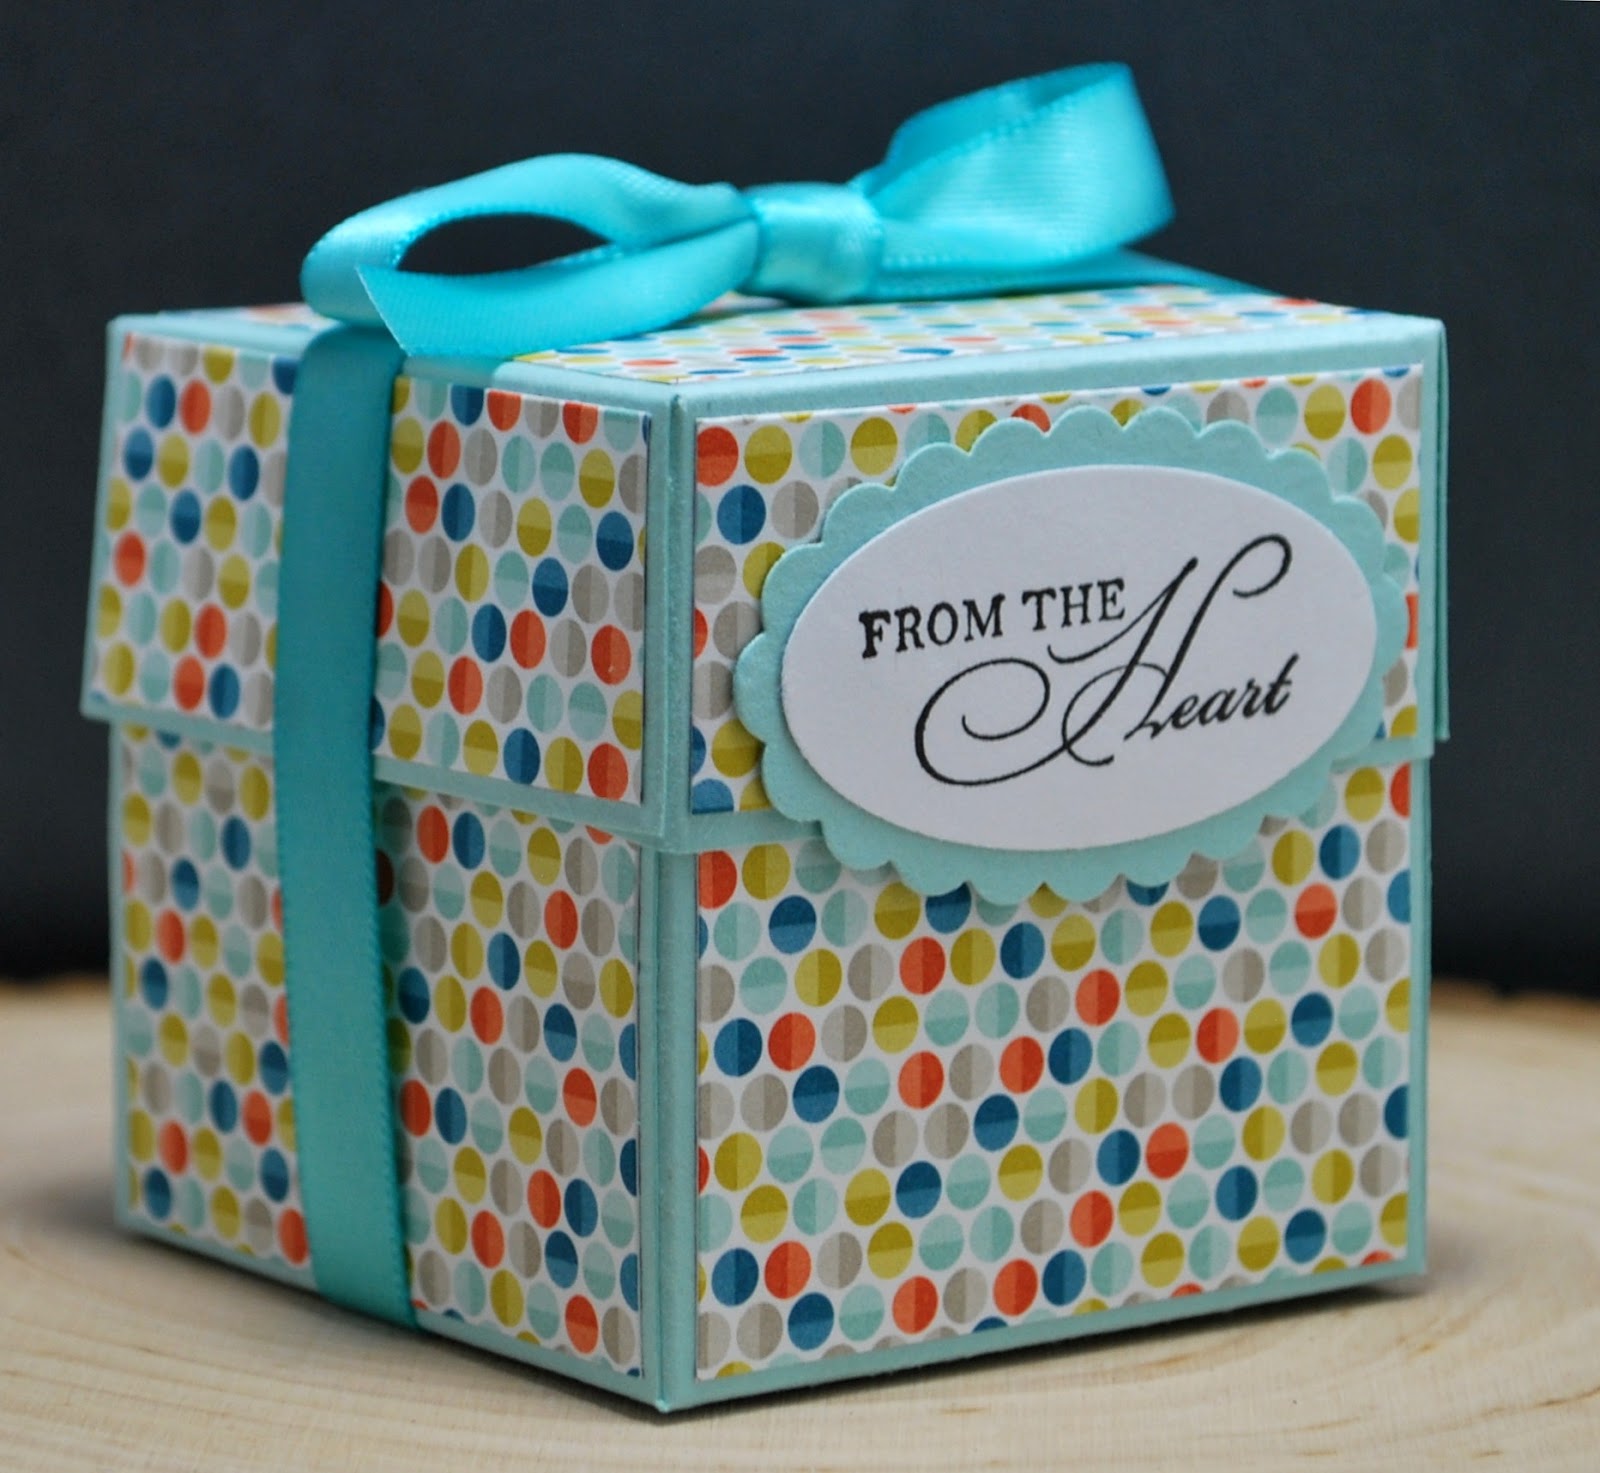
In April of 2017, our local scrapbook store closed. I had been doing a class there once a month. After receiving the news, the ladies wanted to continue our classes. I moved the class to my house on a the fourth Saturday morning of the month. Our April 2018 meeting marked our one year anniversary.   I wanted to do something special.  I wanted to make some cookies, but I just didn't get it done. Parkinson's got in the way. But I did get some little boxes made that held a Yankee votive candle. I found the pattern on Pinterest, messed up a few, and finally got eight made.

Then last week I finally made the decision to drop the card making meeting for a group of ladies from my church who have been coming to my house since February or March of 2012. We have had many good times together. I will miss them coming. Again Parkinson's has gotten in the way. The disease continues to progress for my husband. I just need to eliminate some stress from my life. I just can't do all the things I have been doing. Last week I was finally able to make that decision  and have peace about it.

I have to tell them tonight that this will be our last meeting. I have made some of the little boxes with a votive candle in each one. I hope they will each know how much their friendship  means to me.


God understands
Our Prayers,
even when we
can't find
The Words
to say them.
                     Author Unknown

Wednesday, March 28, 2018

Easter Treats

Sometime ago there was a die for making "Little Milk Cartons". I always wanted to get it but never had the money. A few days ago I ran across a video showing how to make one. Here is my little "milk carton". This one is 2-inches square and 1 1/2-inches high. That measurement does not include the triangle top.

The measurements  I used--
Start with a piece of card stock that is 8 1/2-inches by 5-inches.
With the short side at the top of the score board, score at 1 1/2", 3" and 4 1/2".
With the long side at the top, score at 2", 4", 6" and 8".

Here is the link to a great video--Pootles.


Saturday, February 10, 2018

Getting Ready For Our Valentine Lunch with Friends.

On Wednesday, February 14, we are to have lunch with three other couples. What do we have in common with these folks? All of our husbands have Parkinson's Disease. We have all been married about 50 years.  All of our husbands have had great careers. Our husbands are currently attending the "Rock Steady Boxing" exercise program here in Jackson. All are active in their church. Most of all, we enjoy being together.

Since it will be Valentine's Day, I wanted to do a little something special to celebrate our time together. I would like to share with you what I came up with.

First, I made these little boxes filled with candy. I purchased a bag of Dove Chocolates -- milk chocolate with swirls of dark chocolate wrapped in purple foil. For the box top, I chose SU Elegant Eggplant card stock.The box is small -- about 2 1/4" x 3 1/2"and about 5/8" tall. It holds 6 pieces of the chocolate. I made the flowers using a couple of punches that I have. I used Pale Plum card stock (a long retired color), sponged the edges with Elegant Eggplant ink, shaped the petals, glued two large pieces together, added one layer of the smaller petals, filled the center with glue and topped that off with yellow prills. I truly love making these flowers. I found some pieces of greenery and added them to the box top before gluing on the flower. To finish off the flower, I added a little bit of diamond stickles to the edge of each petal.


I wanted a card to go with the little boxes. I chose to do a little 3" x 3" card. It is made using white card stock for the base. For the top layer, I punched the heats out of white card stock, trimmed it to about 2 3/4" square, embossed that layer and added a piece of Elegant Eggplant card stock underneath. The last thing I had to do was make the envelopes. I think that the little boxes will look so pretty setting on the table.


I looked and looked for a sentiment to go inside the card. I couldn't find one in my stamp collection. Last night, I went looking on Pintrest. I found a quote that I thought might work. This morning I was playing with it, changed some of the words and this is the result. Using Microsoft Publisher, I created and printed the inside of my card. I was able to get the three cards I needed from one sheet of white card stock. I found the RGB code for "Elegant Eggplant" and used that as the color for the printing. It comes out being pretty close to a match.


Friday, May 5, 2017

A Mother's Day Project

Been working on my centerpiece for the Mother and Daughter Tea which will be at our church on May 13. I first started out by making a small table topper. I pulled out some batik fabrics that I had purchased some time ago. I cut my strips 2 inches wide. Sewed six strips together and then cut the strips into triangles using my 60 degree triangle ruler creating a hexagon shaped mat. Love the results. But I think it needs something else.


Since I love paper crafting and making cards, I came up with the idea of making an "explosion box" into a candle holder for one of the little LED candles that can be purchases at craft stores. The box is 3-inches square and 4 1/4-inches tall. I used Rich Razzleberry and Sweet Sugarplum Stampin' Up card stock.  I topped the box off with some little paper shaped flowers. For the defuser over the cut out circle, I used vellum card stock. I was not able to get a picture showing how the box looks with the light on.


I needed someway to keep the tea light centered so I created a little box/platform to hold the tea light in place. It was then glued it in the center of the bottom of the box.


 All together!


The following picture shows how the box opens and the tea light in the center. 


I had lots of fabric left so I made another table mat. This is made basically the same way. I cut the strips 2-inches wide and sewed two sets of six strips together. I then cut the strips into triangles using the 60 degree ruler. Ten triangles are needed to make this mat.


Tuesday, December 15, 2015

Boxes

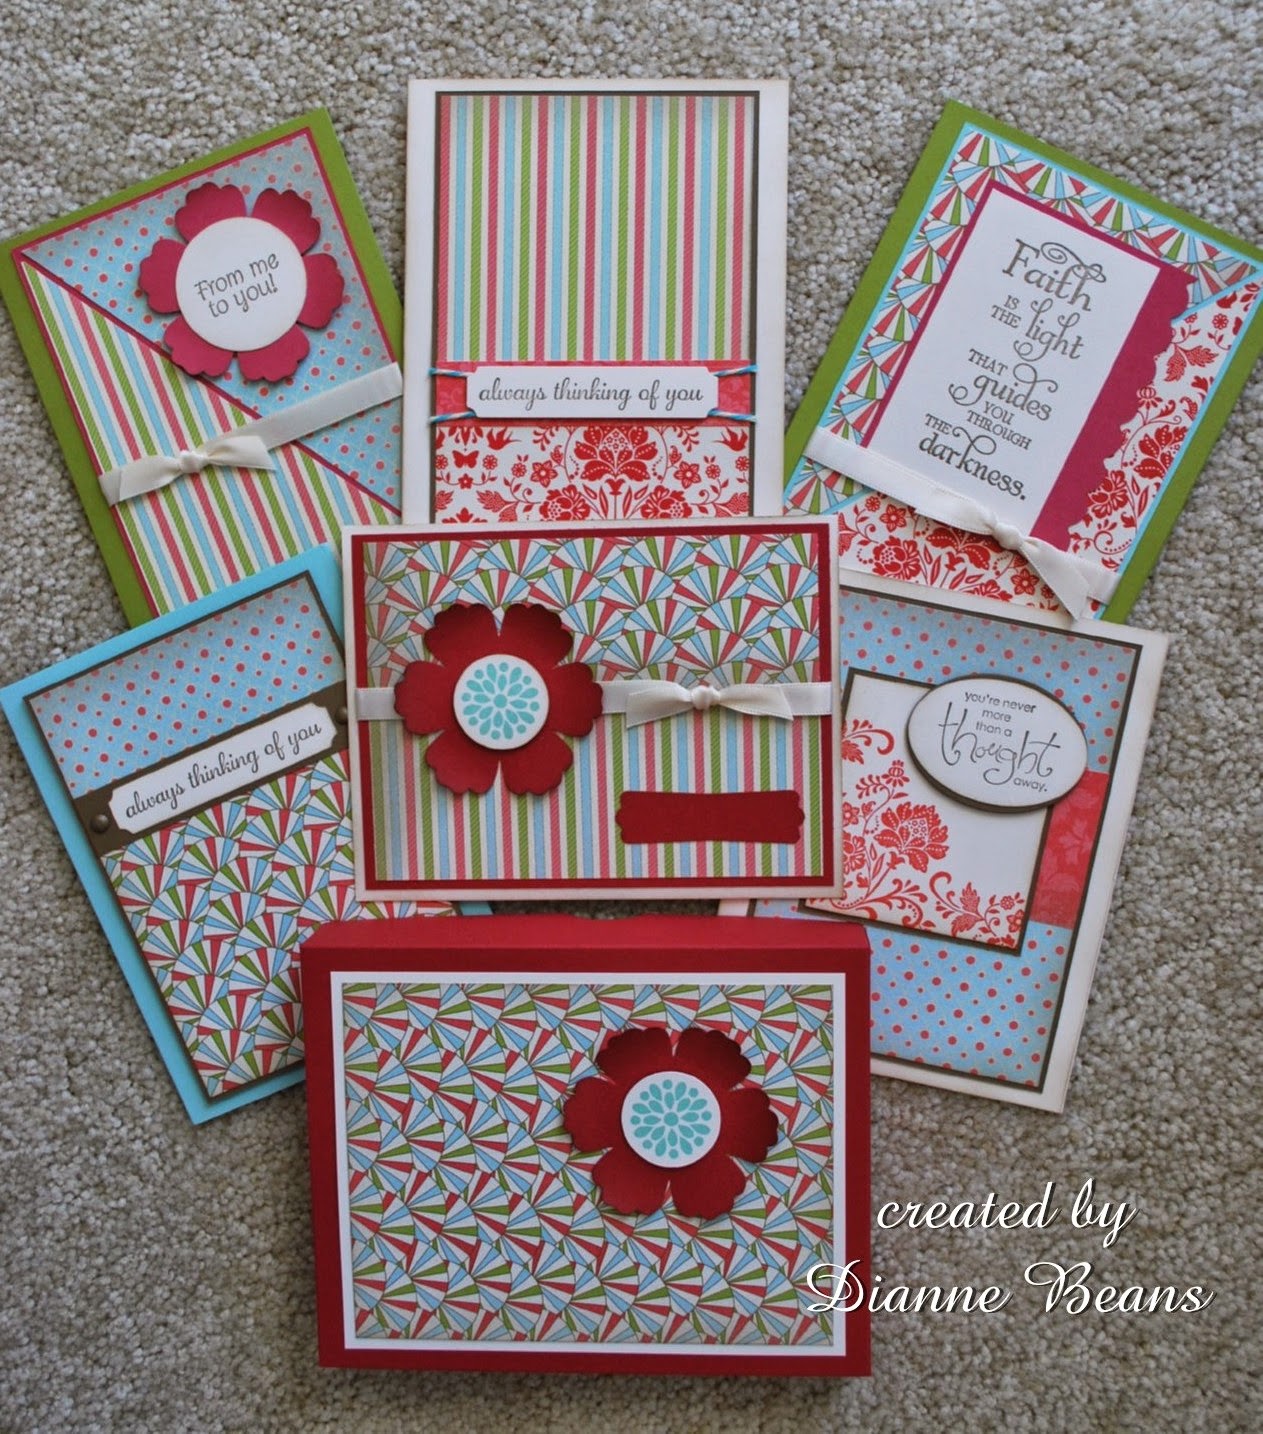
Love doing gift boxes for my cards. Here are some that I have done during the past few months. In this first picture, the box is at the bottom of the picture. It was filled with six coordinating cards.

In this picture, the box is in the center and is surrounded by six cards. I used the same stamp on each card.

The last two pictures show the tops of two other boxes. 


Wednesday, April 1, 2015

CAS318 -- ABC with Spring Colors

This week's CAS challenge at SCS was a little different. It was "ABC (anything but a card) using spring colors". I knew what I wanted to do from the very start, but because of things beyond my control, I am just now getting my little gift posted. I first saw this idea on a video done by Connie Stewart at "Simply Simple Stamping". I made the sides of the bottom part of the box a little higher, but everything else is pretty much the same as her design. Here is the link to her video.

I made several of these little boxes and used them as little gifts for the gals in my stamp club and for favors at our family craft day on Saturday, March 28. The box measures 1 1/2 x 4 x 3/4 - inches and hold 3 miniature Reese's Peanut Butter cups.  
 

Thursday, December 4, 2014

Two Little Boxes

Two little boxes filled with 3 x 3 cards for Christmas. December 4 is our stamp club's Christmas party and we are each to bring a box of tiny cards to exchange. In the process I ended up making two boxes. I am looking forward to seeing everyone's creations. The first one was for a friend who left for Florida last week. The second box is the one I am taking to the party.

 
These are the cards that fill the box.


Thursday, March 20, 2014

A Gift

Today has started out rather gloomy, but the forecast is for some sun this afternoon. It seems that on sunny days, my husband always thanks the Lord for "the sunshine that cheers our hearts and warms our world".

Last Wednesday, I made a card for the sketch challenge -- SC479. I enjoyed making it so much that I decided to make a set with a matching box. I just used different colors and three different sentiments. It is now a gift waiting to be given.

Monday, February 10, 2014

Christmas Gifts--2013

I want to share the gift that I made for the grandkids this past Christmas. They are getting old enough that they usually ask for money. I thought about doing a gift card, writing a check or just putting money in a card. None of these ideas sounded very exciting. While looking on Pinterest, I came across several unique ways to create gifts using money. The one that really caught my interest was one where a square Kleenex box was used to hold the dollars that had been taped together. The recipient would then get to pull the dollars up through the opening. The more dollars the more fun. I didn't have Kleenex boxes, so I had to create my own. For the first two that I made, I used a 12 x 12-inch piece of card stock to create a 4 x 4 x 4-inch box. I made a tag that came out the top to which the dollars were attached. Sarah and Stephen had fun pulling their gift out of the box.


The boxes below are the second ones that I made. Again I used a 12 x 12 inch piece of card stock to make my box, but this time I made them only three inches tall. These boxes worked much better. I used the Cricut Craft Room to cut out the names, the top decoration and the up arrows you see on the tags. The gifts were a big hit with all the kids.