Showing posts with label Birthday. Show all posts

Monday, August 3, 2020

A Birthday Gift

I have a friend who has a birthday in a few days. I wanted to have a gift for her when we have lunch together on Friday so I went looking on Pinterest for some ideas.  I found a picture of these small fabric trays. After deciding what I would make and the fabric I was going to use, I remembered that I had a piece of the Pellon Flex Foam 1 Sided Fusible Stabilizer that I had purchased some time ago.  I had watched some videos on how to use it and thought that this might be a good project to try it on. I had some 10 inch squares that I thought would work well with what I wanted to make. 

 The fabric had been chosen and the Flex Foam fused to the back side of the fabric that I wanted to be the inside lining -- the fabric that could be seen the most. After laying the outside  square on top of the lining piece, I squared up the block and sewed around the whole square leaving an opening so that it could be turned. As I began turning the piece inside out I realized that I had turned the one piece of fabric the wrong way. There was no way I was going to try ripping out the stitching so I just decided that was the way it was going to stay and that it would be mine to keep. I went ahead and finished it. Later I was able to fill it with 2 1/2 inch half square triangles. Four stacks fit perfectly.


So it was then time to make the second one that I would use for the birthday gift. This time I got the fabric turned the correct way.


This afternoon I was able to make a birthday card for Linda. I think that this was the first card that I have made in about a year. 


I pray that all are safe and managing these difficult days well.


Thursday, September 19, 2019

Amazing

It is amazing to me how a "friend's birthday" can draw us back to our paper crafts.  Yesterday we were celebrating Daan's birthday. Today he turns 80. I looked through my cards but didn't find one that I wanted to use. After looking through my stamp inventory book, I came to SU's "Enjoy Life". This set had the perfect stamps.

You see, Daan has Parkinson's Disease just like my husband. He sometimes has trouble walking because of his freezing. BUT when he gets on a bike, he is free and can ride for miles. Actually, there are a total of four couples that have become very close friends over the last two years. All of our husbands have Parkinson's, but more than that, we all love the Lord. We enjoy being together. We all have similar interests. Yes, our husbands have Parkinson's but that does not define who we are. We all still have an identity. We love doing the things other couple's enjoy doing. It may just take longer for us to accomplish the task. Of course we are each limited from doing certain fun things. Often time, I feel excluded from social events because we have to deal with these certain limitations. These friends understand.

So I want to share my card with all who come to my blog.

Here is a list of the items that I used--
Stamp sets --  Stampin' Up "Enjoy Life" and "Bloom with Hope"
Card stock --  Pacific Point
Ink --  Gina K Designs Black, SU Soft Sky, Brocade Blue and Pacific Point
Accessories --  Make up brush for sponging

For the sponging, I used one of the new make-up brushes that I received as a gift. I was really pleased with the results. I love the softness that the brush creates.


I hope have a beautiful day. Our Michigan weather is perfect today.


Monday, January 28, 2019

A Special Birthday

Today there is a very special birthday. It is my cousin Faye's birthday. She lives in Shelbyville, Tennessee. Faye was like the sister I never had. We spent lots of time together growing up. I wanted to let her know how much she means to me. So---

The first item I made was this little zippered pouch/wristlet. Faye loves flowers so I thought this fabric would be just right. I added a detachable wrist strap and a beaded zipper pull. The pouch measured about 6 x 8 1/2 inches.


After finishing the pouch, I needed a birthday card. For that I used a white card base with some accent pieces in Stampin' Up's "Marina Mist" color. The butterfly is from the new "Butterfly Gala" stamp set. The top butterfly was stamped on Vellum paper and heat embossed with white detailed embossing powder. For the butterfly underneath, I used Marina Mist card stock and stamped the image using Memento Tuxedo Black ink. Lastly, I used the coordinating punch to punch out the butterflies. The sentiment comes from the new stamp set called "All That You Are". The stamp for the leaves is from that same set, stamped with VersaMark ink onto the card stock creating a watermark effect.


HAPPY BIRTHDAY, Faye. I hope that your day is very special.


Sunday, June 24, 2018

Summer Has Begun

Yes, summer has arrived in Michigan. We have already had a few 90 degree days, a few days in the upper 60's and lots of rain.

Parkinson's Disease continues to be a part of our lives. Sometimes it just gets in the way of my card making and postings, but that is just the way life is for now.

Last week, I made three cards for a class I had on Saturday morning. The cards were simple but well liked by the ladies who attended the class.

The first two cards were made using the Designer Series Paper from this past Sale-a-Bration. I saw so many beautiful cards posted on Pinterest. I had to see if coloring on the paper with water based markers really worked. "It did!" On the first card, I used a long time retired color called "Pale Plum". I only have the marker and a few sheets of the cardstock left. It has always been a favorite color of mine.


For the second card I used the color "Pool Party". Love that color. I used the marker and cardstock in that color.


 I also offered the card made with the color "Coastal Cabana". That was probably my favorite, but I didn't get a picture of a finished card in that color. The medallion was made with a scalloped circle and a die from the new framelet set called "Stitched Labels". The first stamp came from the new set "Stitched All Around" and the birthday greeting was a "Our Daily Bread Designs" stamp.


Wednesday, May 23, 2018

A Petal Palette Birthday


I have truly enjoyed using the "Petal Palette" stamp set and coordinating thinlets. I also purchased the "Petal Passion Memories & More Card Pack". This card uses one of those cards. I made this card for one of my special friends.


Stamps -- Petal Palette
Ink -- Memento Tuxedo Black with Sweet Sugarplum and Pear Pizzazz for watercoloring
Card Stock -- Sweet Sugarplum for card base and Smoky Slate for accent layer
Accessories -- Petals and More Thinlets, Aqua brush and dimensionals


Tuesday, May 22, 2018

Old Becomes New

One retired stamp set
One retired framelit set
One current stamp set
Equals one modern birthday card.

I really find it hard to let go of my retired stamp sets and accessories. I purchased them because I really liked them and I still enjoy using them. I guess I am just not a very good salesman.


Stamps -- Stampin' Up Work of Art and Big on Birthdays
Ink -- Soft Sky, Pool Party and Bermuda Bay
Card Stock -- Pool Party, Bermuda Bay and white
Accessories -- Botanical Builder Framelits and my Misti


Friday, May 18, 2018

Creating


With the Wreath Builder templates, you can also create square designs. That is what I did on this birthday card. The template keeps everything lined up.


Card Stock -- Highland Heather for card base, Pistachio Pudding, Gorgeous Grape and White
Stamps -- Leaves -- Hold On To Hope
                 Border -- You're Lovely
                 Flower and Sentiment -- Wreath Builder
Ink -- Memento Grape Jelly and Lulu Lavender, and SU Pistachio Pudding


Monday, May 14, 2018

Why So Difficult?

Why are masculine cards so difficult to create or is it just me? I spent all morning working on this card. I still feel that it is missing something. Not sure what! I will leave it for a while. I want to make at least one or two masculine cards in my next "Create, Challenge, Encourage" stamp club meeting. So I still have some work to do.


Stamps -- Stampin Up Hardwood, Country Livin' and Big On Birthdays
                 Impression Obsession background stamp Distressed Corduroy
Ink --  Memento Rich Cocoa
Card Stock -- Crumb Cake, Early Espresso and Very Vanilla 
Plus circle dies

Thursday, April 5, 2018

Shutter Card

Such a fun project. I had been searching for instructions for this fancy fold card for some time. Then earlier this week I found the perfect video. Here is the link to "Dawn's Stamping Thoughts" video called "Peek a Boo / Shutter Card". There are so many talented gals out there who do an incredible job with their videos. I enjoy their talent and love learning from them.

I used Midnight Muse and Summer Starfruit card stock to create my card. I chose those colors because I wanted to use some of the retired designer series paper called "Patio Party. The inside sentiment comes from the set called "Bunch of Blossoms" and the "Happy Birthday" comes from the set called "Morning Meadow". I did have a little trouble with the shutter mechanism closing. I clipped the points on the upper layer of the shutter and then it worked beautifully. I am already working on a second card.


Saturday, October 28, 2017

Tic-Tac-Toe Challenge

This month's challenge for the Create, Challenge, Encourage stamp club was a "Tic-Tac-Toe" challenge. You pick three things that are in a row, either across, down or diagonally, to use on your card. I chose the last row going down for my card.


My blue color was Night of Navy. I used a scalloped punch and navy and white checked ribbon. Two stamps sets were used. The first stamp was from the set called  "Thoughts and Prayers". I would have to say that this stamp set is a real classic. It has been around since the summer of 2009. The sentiment comes from a new set called "Beautiful Bouquet". I would also say that this card fits in the category called "Clean and Simple".


Thanks for visiting my blog today.

Wednesday, August 23, 2017

SC659 -- A Lilac Birthday Card

Today's sketch was very interesting. Lots of elements arranged in a very unique way. I would love to know what you see in the sketch.

 
Putting together this number of elements can be a challenge for me. I first started thinking about what paper I would use. I had purchased this pad of paper not long ago called "Lilac Love". It contains 36 sheets of double-sided designer paper. 3 sheets of 12 different designs. As I played around with the paper, I found the elements starting to come together.


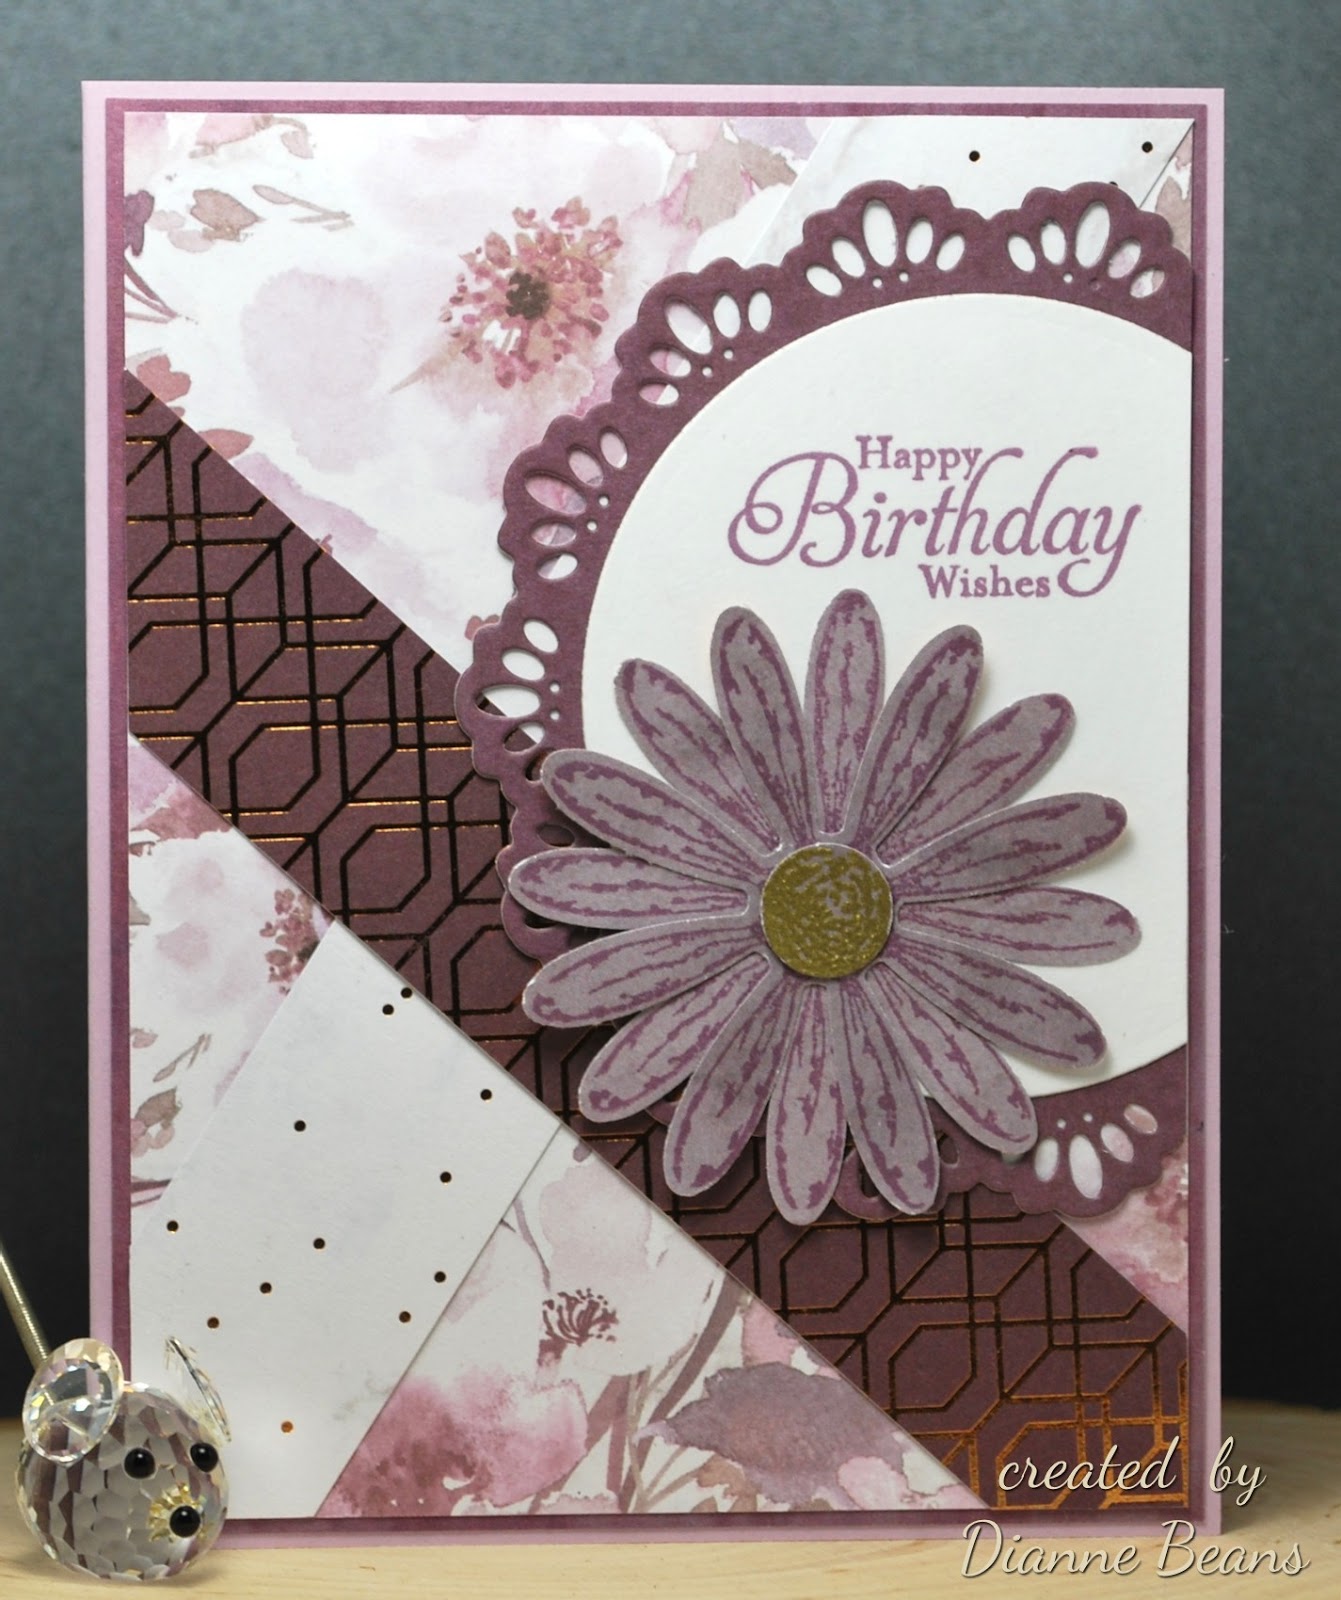
And -- this is my card. The base is Pale Plum. All the other layers are from the Lilac Love collection, except for the white piece. The sentiment is from the Stampin' Up set called "Simply Sketched" and the flower is from the new set "Daisy Delight". I stamped the flower twice onto one of the lighter colored sheets with Memento Sweet Plum ink, used the daisy punch and created the center using VeraMark ink and gold embossing powder. I want to try  making another card using this same sketch. I love the design -- so unique.


Monday, August 21, 2017

CAS443 -- Sweet Birthday Wishes

Love the CAS challenge today at Splitcoast Stampers. "Sweet Birthday Wishes" I immediately thought of this stamp by Penny Black called "Sweet thing". It took me a while to find it. Then it was ready, set, go. I stamped the image with Memento Tuxedo Black ink and used my Prisma Colored Pencils (with Gamsol) to do the coloring. I cut the image out with Spellbinder dies, found some coordinating card stock, a piece of Designer Series Paper and the perfect birthday stamp. Finished. A very simple card. Just took a little bit of time to do the coloring.


Thursday, August 3, 2017

For My Brother

My brother's birthday is in just a few days. I think that this is the first birthday card that I have gotten mailed on time. It turned out to be a simple card but one that I was pleased to mail.


Card base -- Pool Party card stock
Stamps -- Main Image "Moon Lake"
                 Happy Birthday from "Happiest Birthday Wishes"
                 Stars from "Big On Birthdays"
                 Inside greeting from "Botanicals For You"
Ink -- VersaFine Black Onyx embossed with clear embossing powder on watercolor paper and colored using distress markers and my aqua brush

Thank you for stopping by.


***This card was in the favorites for the week ending August 6, 2017 at Splitcoast Stampers


Sunday, July 23, 2017

A Birthday Greeting

Another birthday card -- Sometimes I need a birthday card and don't have much inspiration. That was my case a few weeks ago. I found a small piece of the floral designer paper in my scrap box. It became my inspiration. I let the colors do the talking. Not a complicated card but one that I was happy to give.


Here is a close up of my little flower. I sponged the edges and after adding a little shaping to the petals, I used a marker to add more color to the center of the flower. I think it gives life to the flower.

Praying that you have a beautiful day!


Sunday, July 16, 2017

Using A New Birthday Stamp

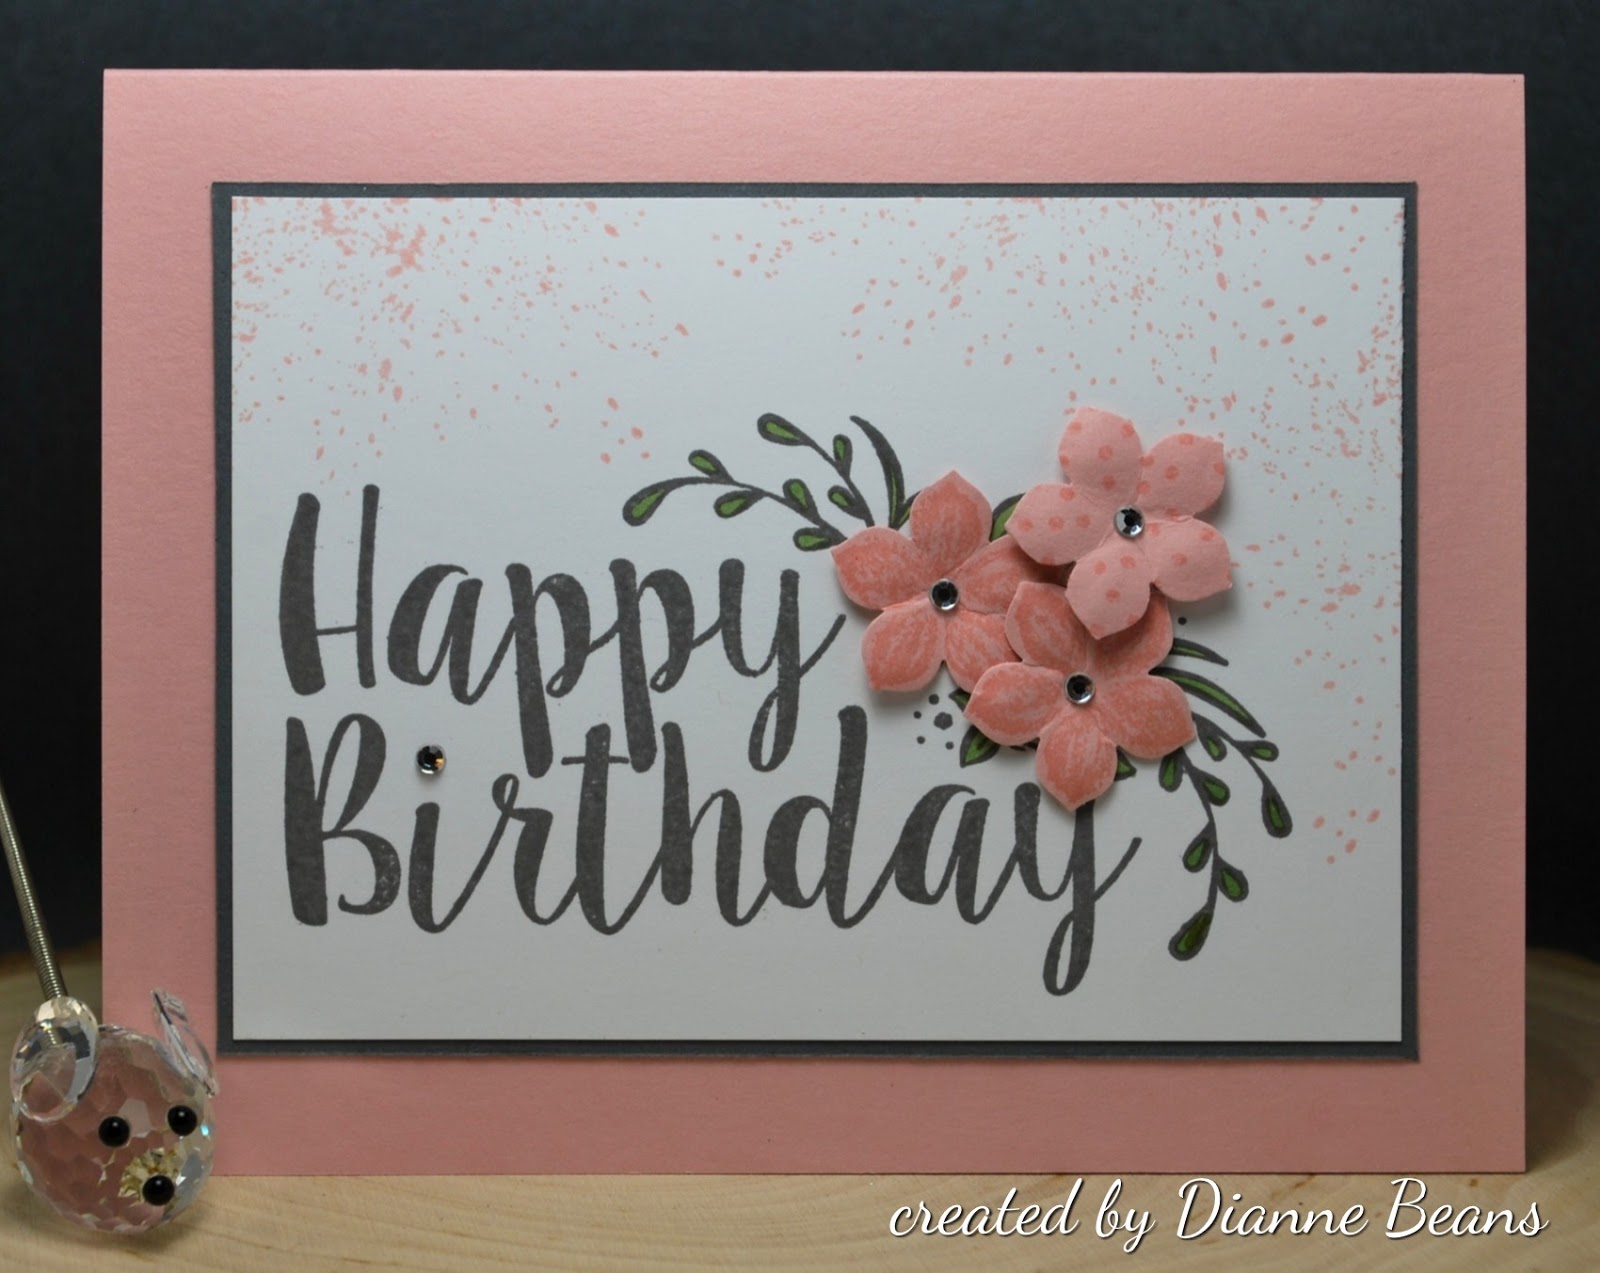
I just finished a birthday card using a new set that I just received called "Big on Birthdays". I love the large design.


For the card base I used Blushing Bride card stock. The birthday image was stamped onto white card stock using Memento Gray Flannel ink. The leaves were colored with a green copic marker. The flowers, from the retired Petite Petals stamp set, were stamped on Blushing Bride card stock using Blushing Bride ink and punched out using the coordinating punch. Rhinstones were used to accent the center of the flowers and the dot over the "i". To soften the large white area, I used a stamp from the "Touches of Texture" stamp set and Blushing Bride ink.


July  16, 2017
This card was mentioned in the "Favorites for the week ending July 16".

Thursday, July 13, 2017

By The Sea Shore

When I first saw the "Seasonal Layers" thinlets die set in the new Stampin' Up catalog, I fell in love with it. I began seeing cards with the chair on them. Then one day as I was leaving one of the ladies rooms at church I saw this picture--


At that point I knew that this was a set that would enjoy having and using. The set arrived on Wednesday and this afternoon I made a card with it. I used the picture I had seen as my inspiration.


I created the background first with sponges and ink. Then I added the foliage on the left side. That stamp is from the "Wetlands" set and markers were used to color it before stamping. The chair is from the Stampin' Up "Seasonal Layers" thinlet die set. The sentiment is from one of Our Daily Bread Designs "Mini Tags" set. For the card base I used "Night of Navy" card stock and layered the focal image onto a piece of Brocade Blue card stock before gluing it to the card base.


July 16, 2017 -- This card was mentioned in "Favorites for the week ending July 16, 2017".

Saturday, July 1, 2017

Maddie's Birthday

On July 4 Maddie will celebrate her 12th birthday. Time is going so fast. I have often made her birthday card around the 4th of July theme. I wanted this year's card to be different.


So--- I made a Dutch Fold card. So cool and easy too. Maddie loves animals. I don't have many animal stamps so I decided to use dies that coordinate with the SU set "Best Birds". The card base is Crisp Cantaloupe card stock. Found a piece of the designer paper in the same color. The bottom squares are the reverse of the top piece. And black became my accent color.

I found two different instructions for making this card. I chose to use this set of instructions--Beyond Beaches and Blessings. Lynn did a great job in explaining how to make the card base for this fold.


Sunday, June 25, 2017

Sponging and Masking

These are two of my favorite techniques. That was the topic for our June Create, Challenge, Encourage Stamp class. We made three cards using three different types of sponging and some masking.

This card was made using on oval mask to sponge the colors onto plain white card stock. I used blue and green ink and a large sponge dauber. After the sponging is complete you can add the stamped image and sentiment .


The steps for this second card were a little more involved. I first stamped my images onto plain white card stock and cut into the oval shape using a Spellbinders Nestabilities die. Without removing the paper from the die, I turned it upside down and embossed using my silicone rubber mat. Still leaving the oval in the die, I turned it right side up and lightly sponged over the die onto the card stock. The result is a small white edge to the image which creates the appearance of an additional layer.


I posted this third card a few days ago on the blog. With just a few stokes of ink over some masked lines, I created the illusion of a landscape. Very simple way to add depth to your stamping.


Tuesday, June 20, 2017

Touches of Texture

Yesterday, I needed a birthday card. I wanted to make a new card. I chose one of my new stamp sets from Stampin' Up called "Touches of Texture". This is the card that I made. The image was stamped with Memento Gray Flannel ink. Then I used my SU watercolor pencils and a blender pen to add color to the flowers and leaves. I used a Rich Razzleberry card base and Rich Razzleberry ink to finish the card. The birthday greeting is from the set "Express Yourself" and the butterfly is from the set "Papillon Potpourri" stamped on pink card stock in Rich Razzleberry ink. Using a glue pen I added Dazzling Diamonds glitter around the edges.


I used the layout on the front to decorate the inside of the card. I used my laptop to create the greeting and printed it on  white card stock. Then added the stamping.


This card was mentioned in the "Weekly Favorites for week ending July 2" at SplitcoastStampers.
Thank you!


Monday, June 19, 2017

Father's Day 2017

Saturday evening I wanted to make a Father's Day card for my husband. I wanted him to know how much I love him.  He was also a wonderful father to our two children who now have families of their own.

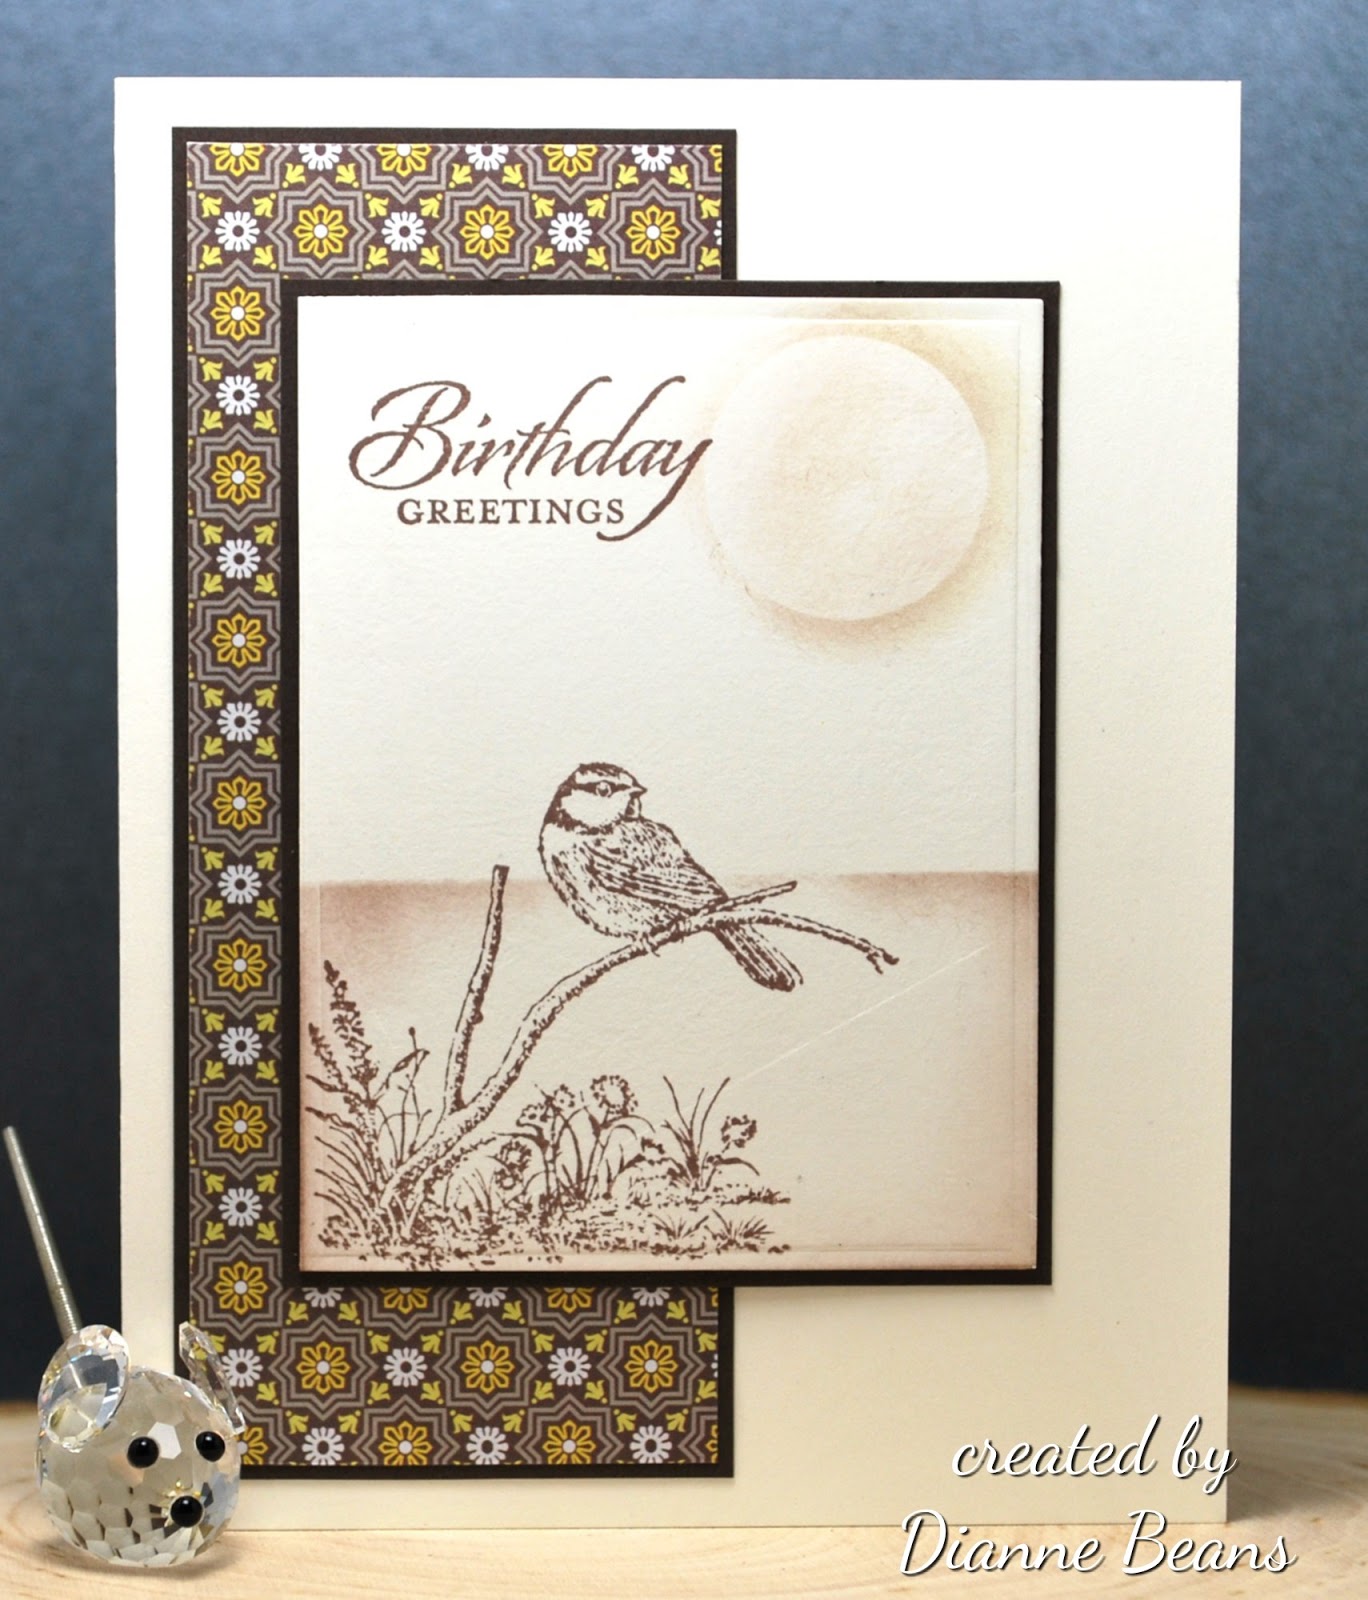
This is the card I made. The stamp is from Stampin' Up's "Moon Lake". It was stamped on a natural card stock with Memento Rich Cocoa ink. The designer paper was from my collection. I was pleased with the way it turned out. Don really liked it also.


This afternoon I was trying to work on some cards for the class I am doing on Saturday. The topic is "sponging and masking". I decided to make the same card but add just a few touches with a sponge and some ink. The sponging gives the image more depth. I like how it turned out. The sentiment on this card is from the Stampin' Up set "Wetlands".