The past week, here in Michigan, we have seen several days with really heavy, dense fog. I was inspired to try to create a foggy scene on a birthday card. I spent most of the morning working on the card. I first started out by stamping the image on white card stock using Memento Tuxedo Black ink. Then I tried sponging over the image with Stampin' Up's Whisper White craft ink. It was working but not like I wanted it to. Next I tried stamping the image on light gray card stock using VisaFine Onyx Black ink. Now it looked like I was on the right track. Finally, I began sponging over the stamped image. I tried to add more sponging in the center of the image to create more depth to the scene. I used Memento Gray Flannel ink to stamp the deer and then did more sponging. Finally I was getting the look that I wanted. I love the finished result.
The stamps used were: "Woodland Wonder" from Penny Black, "Forest Silhouettes" from Sweet 'n Sassy Stamps and the "Happy Birthday" from Stampin' Up's set called "Bloom With Hope". The card base is SU's So Saffron card stock with a small piece of designer paper that I found in the scrap box.
Wednesday, January 25, 2017
Thursday, January 19, 2017
Beautiful Day
Birthday's are special days to remember those who are dear to us. I have some special people in my life who have birthday's during the month of January. I thought about using winter scenes but decided to CASE a card that I saw on Pinterest a few days ago and use my new stamp set from Altenew again. It is called "Beautiful Day".
The layout of this card is pretty much like the one I saw on Pinterest. The flower is different and I used a different butterfly. Here is a link to the original card --Scrappin' and Stampin' in GJ. I didn't realize how many different stamp sets I had used until I was starting to write everything down. Below the pictures, I have listed all the stamp sets used.
Stamp sets used--
Altenew -- "Beautiful Day"
Stampin' Up -- Simply Sketched, Kinda Eclectic, Papillon Potpourri, Just Believe
Sweet and Sassy Stamps -- "Sunshine and Flowers"
Note on the butterfly -- I stamped the image onto So Saffron card stock using Memento Tuxedo Black ink. I added some additional color using my copic markers to the center of the butterfly. After punching the butterfly out, I covered the image with a glue pen and dipped the image into my glitter.
Wednesday, January 18, 2017
A New Stamp Set
Earlier this month I received a new stamp set "Beautiful Day" from Altenew. I started playing with this set a few days ago. I finally got my birthday card finished using this set along with numerous other sets from my collection.
After practicing on several flowers this is the final card.
Because the flowers are so large, I made my card 5 1/2 x 5 1/2-inches. I found a 12 x 12-inch sheet of paper that was the perfect color to go with my Pool Party card. I used the masking technique on the two pink flowers when adding the leaves. The center flower was stamped on a separate piece of card stock and cut out.
This flower has several parts and each was stamped using a different color ink. The outlines were stamped using Memento Tuxedo Black. The pink flowers were stamped using SU Blushing Bride and Primrose Petals ink.The center flower was stamped using SU Soft Sky and Pool Party inks. The leaves were stamped with Memento New Sprout and Bamboo Leaves colors.
The verse was from Our Daily Bread Designs set called "Happy Birthday". This was the first set I purchased from ODBD. The inside verse was from Unity Stamps set "Butterflies and Sunbeams".
I love creating flowers so I expect that this will be one of my favorite sets. I hope to acquire some more sets in the near future.
Have a wonderful day.
Added to "Favorites for the week ending January 22, 2017"
After practicing on several flowers this is the final card.
Because the flowers are so large, I made my card 5 1/2 x 5 1/2-inches. I found a 12 x 12-inch sheet of paper that was the perfect color to go with my Pool Party card. I used the masking technique on the two pink flowers when adding the leaves. The center flower was stamped on a separate piece of card stock and cut out.
This flower has several parts and each was stamped using a different color ink. The outlines were stamped using Memento Tuxedo Black. The pink flowers were stamped using SU Blushing Bride and Primrose Petals ink.The center flower was stamped using SU Soft Sky and Pool Party inks. The leaves were stamped with Memento New Sprout and Bamboo Leaves colors.
The verse was from Our Daily Bread Designs set called "Happy Birthday". This was the first set I purchased from ODBD. The inside verse was from Unity Stamps set "Butterflies and Sunbeams".
I love creating flowers so I expect that this will be one of my favorite sets. I hope to acquire some more sets in the near future.
Have a wonderful day.
Added to "Favorites for the week ending January 22, 2017"
Monday, January 2, 2017
Wall Hanging Update
We moved into our home in July of 1988. In the basement there was a huge "ugly" spot on the wall at the bottom of the stairs. The previous owners had evidently glued something to the wall and then pulled it off before leaving. The spot was just too big for any pictures that I could found.
One night while I was sitting at the far end of the room, the thought of making a quilted wall hanging that would be big enough to cover the spot came to my mind. It wasn't long until I started my project. I had sewed since I was in high school, but I had never made a quilt. I found the fabric and chose the log cabin pattern to make my wall hanging. I did get it finished and it has hung in the same spot for over 20 years. The ugly spot was fixed but the quilt was hung back in its spot.
Last year I decided that it was time for a new wall hanging. After making numerous patchwork projects, I was ready to attack the project. I found some fabric that I fell in love with and I chose to use the rail fence pattern. I love the affects that can be created using fabric, patterns and colors.
One night while I was sitting at the far end of the room, the thought of making a quilted wall hanging that would be big enough to cover the spot came to my mind. It wasn't long until I started my project. I had sewed since I was in high school, but I had never made a quilt. I found the fabric and chose the log cabin pattern to make my wall hanging. I did get it finished and it has hung in the same spot for over 20 years. The ugly spot was fixed but the quilt was hung back in its spot.
Last year I decided that it was time for a new wall hanging. After making numerous patchwork projects, I was ready to attack the project. I found some fabric that I fell in love with and I chose to use the rail fence pattern. I love the affects that can be created using fabric, patterns and colors.
Wednesday, December 21, 2016
Blessings of the Christmas Season
This has truly been a month of celebrations. The Lord has brought many blessings and surprises into our lives this month. The first event was a Christmas Ballet Celebration which was produced by the daughter of dear friends from our church.
The next night we drove to Northville for a Christmas concert by David Britton and Jean Watson. You ask "Who is David Britton". Well, he was our son, Daniel's very best friend growing up. David trained as a classical vocalist at Westmont College in Santa Barbara, California. Our granddaughter, Sarah, is a freshman at Westmont College in Santa Barbara. Daniel's son is named Alex and David's son is named Alex. It had been almost thirty years since we had last seen David. We were truly blessed to spend a few moments with him.
Next, we attended the fall drama production of "The Miracle Worker", at Lumen Christi High School here in Jackson. The students did an awesome job with such an emotional story.
Then there was a Christmas party for volunteers of the Henry Ford Allegiance Health Hospital. Our Quilting group comes under the volunteers for their Hospice program. Sunday night there was a Christmas event at our church which we were able to attend.
During all these events, I have been trying to work on my Christmas cards. I still need to do a few more; it feels good to be almost done.
I ended up doing two cards. I used Spellbinders dies to create the front of the card. Punches were used to make the flowers. I spritzed the layers for the flowers with a spray from Tattered Angels before gluing them together.
The second card was done in white and SU's Pool Party card stock and ink. To create my background I embossed my white card. Leaving the card stock attached to the folder, I brayered the Pool Party ink on the top of the folder and ran it through the Big Kick again. I love the icy look of the Pool Party ink and card stock. Instead of using rhinestones, I punched 1/8-inch circles from glitter paper and added them to my card. I achieved the same effect. This made the card more mail friendly.
Have a Merry Christmas and a Happy New Year.
The next night we drove to Northville for a Christmas concert by David Britton and Jean Watson. You ask "Who is David Britton". Well, he was our son, Daniel's very best friend growing up. David trained as a classical vocalist at Westmont College in Santa Barbara, California. Our granddaughter, Sarah, is a freshman at Westmont College in Santa Barbara. Daniel's son is named Alex and David's son is named Alex. It had been almost thirty years since we had last seen David. We were truly blessed to spend a few moments with him.
Next, we attended the fall drama production of "The Miracle Worker", at Lumen Christi High School here in Jackson. The students did an awesome job with such an emotional story.
Then there was a Christmas party for volunteers of the Henry Ford Allegiance Health Hospital. Our Quilting group comes under the volunteers for their Hospice program. Sunday night there was a Christmas event at our church which we were able to attend.
During all these events, I have been trying to work on my Christmas cards. I still need to do a few more; it feels good to be almost done.
I ended up doing two cards. I used Spellbinders dies to create the front of the card. Punches were used to make the flowers. I spritzed the layers for the flowers with a spray from Tattered Angels before gluing them together.
The second card was done in white and SU's Pool Party card stock and ink. To create my background I embossed my white card. Leaving the card stock attached to the folder, I brayered the Pool Party ink on the top of the folder and ran it through the Big Kick again. I love the icy look of the Pool Party ink and card stock. Instead of using rhinestones, I punched 1/8-inch circles from glitter paper and added them to my card. I achieved the same effect. This made the card more mail friendly.
Have a Merry Christmas and a Happy New Year.
Monday, December 12, 2016
Christmas Celebration
Christmas is a time to celebrate our faith, our family and our friends. I am part of a group of ladies who love to get together, create cards and to encourage one another. Each December, we get together for our Christmas celebration at the Olive Garden restaurant here in Jackson. After enjoying a delicious dinner, we exchange gift tags and a Christmas card with each other. We bring a Christmas tag for each one and then one Christmas card to be exchanged.
Here are pictures of the Christmas card and gift tags that I made for the event. I love to use the "nine-patch" quilt block for many of my quilting projects. That inspired my Christmas card. Even though I used non traditional colors ( Pool Party and Early Espresso) for my card, I love the result. The pool party color is so cool and icy. I used my 1 1/4--inch punch to create my squares.
For the gift tags, I cut navy blue card stock into circles. Then using a die from Memory Box and the same circle die, I made the accent piece that I glued on top of the first circle. I found the marbled color card stock in my collection which was perfect for that snowy look.
Here are pictures of the Christmas card and gift tags that I made for the event. I love to use the "nine-patch" quilt block for many of my quilting projects. That inspired my Christmas card. Even though I used non traditional colors ( Pool Party and Early Espresso) for my card, I love the result. The pool party color is so cool and icy. I used my 1 1/4--inch punch to create my squares.
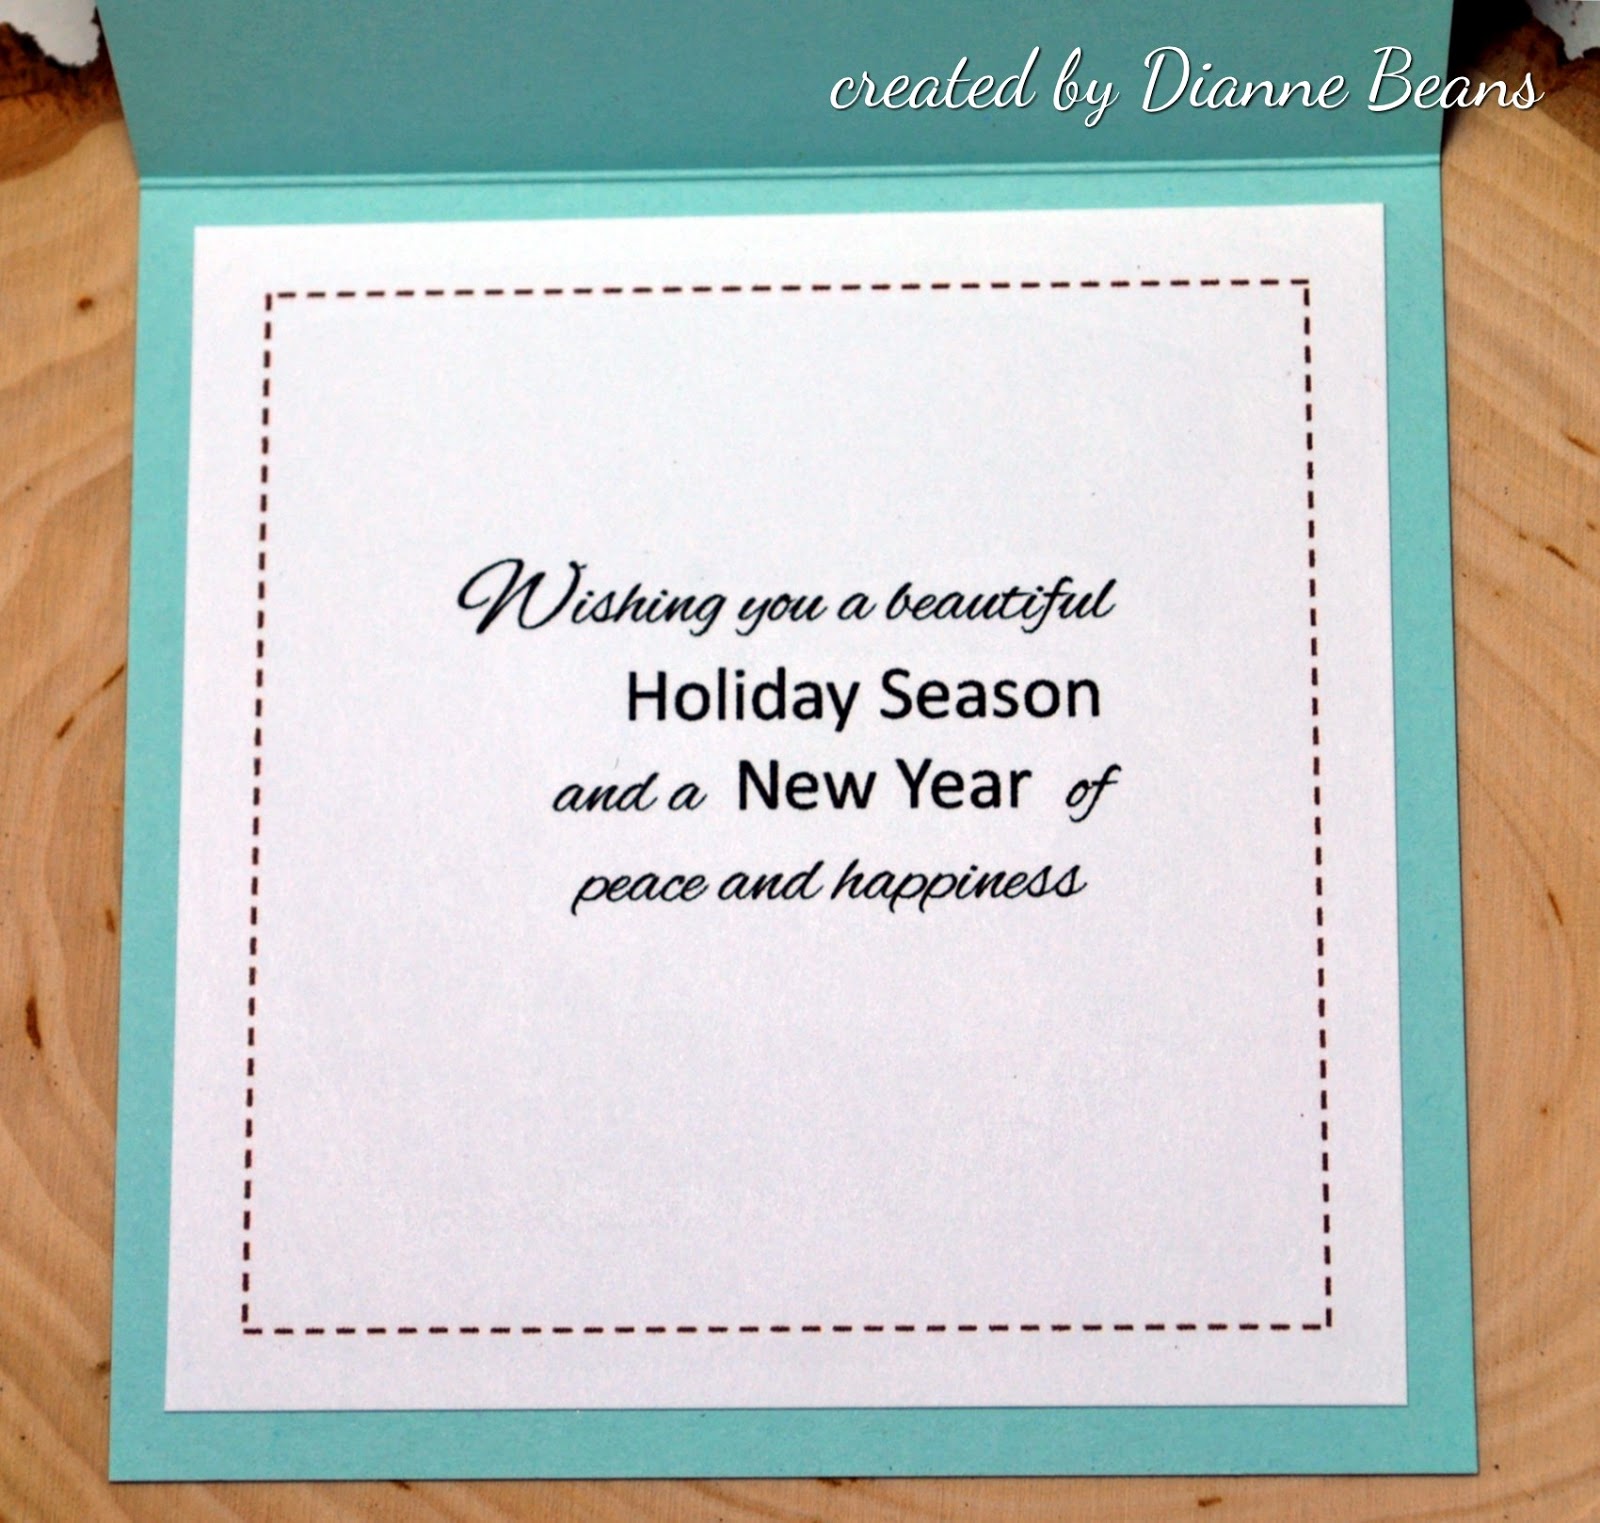
The inside greeting was created on my laptop.
For the gift tags, I cut navy blue card stock into circles. Then using a die from Memory Box and the same circle die, I made the accent piece that I glued on top of the first circle. I found the marbled color card stock in my collection which was perfect for that snowy look.
Sunday, December 11, 2016
Celebrating A Coming Baby
Welcoming a new baby is always an exciting time. I was invited to a baby shower on Thanksgiving Day while the extended family was together. We were celebrating the coming of a little girl in January, 2017. I had just purchased a charm pack (5-inch squares) while in Shipshewana, Indiana that I thought would be perfect for a baby quilt. I was not disappointed. The fabric was so bright and cheerful. It is from Moda called "Brighten Up". I followed a video I saw on the Missouri Star Quilt Company's web site. They called the pattern "The Window Panel Disappearing Nine Patch".
Here is my finished quilt--
And this is my card. I used the stamp set from Stampin' Up called "Love You Lots". It is a hostess set from the 2016-2017 catalog. I used copic markers to color the image and the "welcome baby" is from the set "Petite Pairs". The size is 4 1/4 x 4 1/4 -- inches. I seem to making this size a lot lately.
Here is my finished quilt--
I added a label to the back:
And this is my card. I used the stamp set from Stampin' Up called "Love You Lots". It is a hostess set from the 2016-2017 catalog. I used copic markers to color the image and the "welcome baby" is from the set "Petite Pairs". The size is 4 1/4 x 4 1/4 -- inches. I seem to making this size a lot lately.
Sunday, October 2, 2016
Triple A's Stamp Club
Saturday was our meeting at Altered Art Addicts. We did the "Pin Wheel" card. We all had a great time. I would say that ladies always have a good time doing and sharing things they love.
Thursday, September 29, 2016
Quilt Block Inspiration
As I was preparing for my card class at Altered Art Addicts, this Saturday, October 1, I learned several new things. I had been asked by one of the ladies if we could learn to make the "pinwheel" card. Sure! Not a problem! I had made the card once before and enjoyed doing it. As I began planning for the class, I looked on Pinterest for inspiration. I found many cards. Then I began wondering about the name "pinwheel". I knew that it was not the same as the pinwheel quilt block I had made several times. I found the real name for this quilt block is "Wings of Eagles". It is sometimes called the "Twisted Star" block.
For these two cards, I found doubled sided designer paper in my scrap box that worked perfectly. It is a fun design to work with.
After working on the first two cards, I wondered if I could make a card using one of my favorite quilt blocks -- the nine-patch block. I had also come across some interesting facts regarding the block. It is probably from the early 19th century. Being an easy block to learn how to sew, it was probably one of the first blocks taught to young girls.
I made my squares by using a 1 1/4 inch paper punch. I used a square piece of card stock cut at 3 3/4-inches for the base to glue the squares onto. After doing the piecing I ran it through the Big Kick in an embossing folder. It created the perfect design on the quilt block.
Class Challenge
This last card is for the challenge I had sent out for our class on Saturday. The challenge is to play "Tic-Tac- Toe". I chose to do the diagonal "Yellow, Pink and Purple". I ended up using Flowers, Bling, and Die Cuts from the list as well.
I found the background paper (pink and yellow) in my scrap box. The flowers are made from shades of purple. The leaves were from a die and for the bling I used "Perfect Pearls". The base for the card is "Perfect Plum" card stock (a retired color from Stampin' Up).
Tuesday, September 27, 2016
A Summer of -----
Summer is almost over. The blog posts got put aside. Not sure why. I guess things just happen sometimes. I also think I just needed a break from my paper crafting. It seems at this time of year my interest turns to another craft that I also love and that is "quilting". It started by making my granddaughter's graduation quilt. Then it turned to placemats, table runners, and quilt tops that will be finished and then donated to the Allegiance Hospice House here in Jackson. In this post I am including a few pictures of a few of the projects.
Here are pictures of two quilt tops I made for the Hospice House. I saw a picture on Pinterest. It really intrigued me. As I studied the picture, I said to myself "I can do this". I made a table runner and fell in love with the pattern. I have searched and searched for the name of the block but have not found it yet. In the third picture down, I outlined the block.
Fabric Boxes
This past week, I made several fabric boxes. Again, I found a pattern on Pinterest. These are so much fun. It is an ideal pattern for all those fun fabrics that seem to never get used.
Added a couple of mug rugs with this box.
Subscribe to:
Posts (Atom)